

Sep 2020
5 Camera Settings Explained | Film and Photo
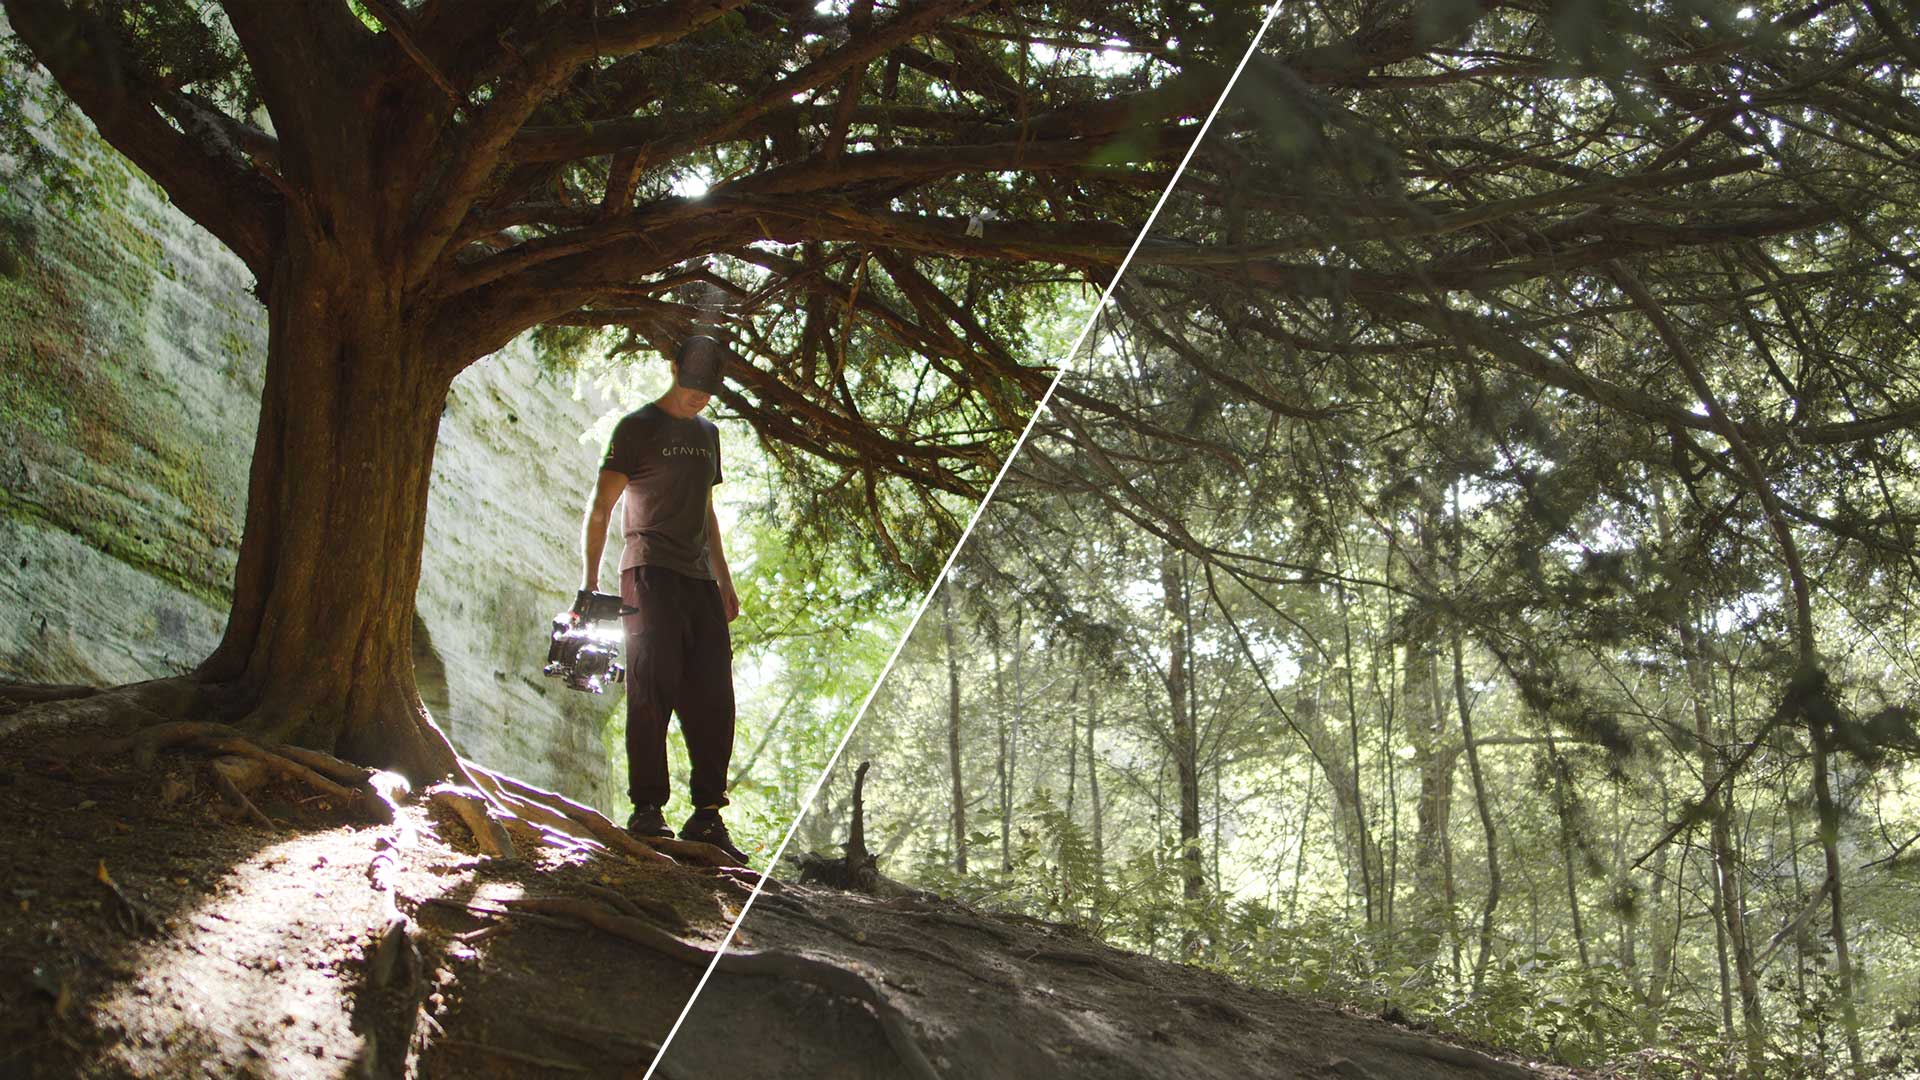
Being a Photographer or Videographer is not an easy job, and if you want to start improving your skills, then you need to see these 5 camera settings explained. In order to take great pictures or video, you need to know exactly how these work, as the auto mode will only take you so far.
Whether you want to create impressive portraits with beautiful bokeh or macro shots in broad daylight, here are the things you need to know.
1. Aperture
The aperture is basically the amount of light that enters your lens, and you will often hear the letter 'f' or 't' when referring to it. On Photography lenses, the 'f' represents the aperture, and it can go from f/64 to f/0.7. Of course, these are values you may never get to use. The only lenses with an f/0.7 were made back in the 1960's for NASA and filmmaker Stanley Kubrick, and you can rent them if you’re willing to pay about $700/day.
With Filmmaking, mainly in cinema, most cinema lenses are based on T-Stop. It's very similar to F-Stop but the F-Stop is a theoretical value, while the T-Stop is an actual tested value. You can learn more about it here.
In general, a low aperture number means a more profound depth of field, so you can get very blurry backgrounds. While a high aperture number makes the image sharper, but also darkens them with less blur in the backgrounds.
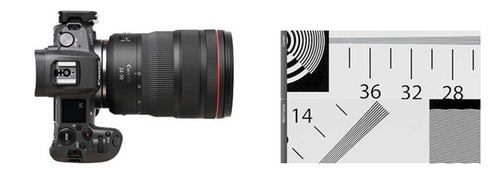
Generally there are some rules that are great to follow with lenses. It's said that most lenses are sharpest at double the lowest aperture. For example if you have a f/2 lens, put your aperture to f/4 and your lens will look sharper than f/2. But again this all depends on personal preference. Most won't even notice these differences when looking on a phone or even laptop.
There's a great website for checking the sharpness of a huge variety of lenses between all apertures. It's truly such a great website for comparing how sharp lenses are side by side. Go check it here at the Digital Picture.
2. Shutter Speed
The shutter speed refers to how much light gets into the camera by a mechanical shutter, which opens and closes to let the light in for a specific moment of time.
High/fast shutter speed means that it will get to capture less light taking the shot, but it will be very quick which means little motion blur with moving subjects. Low/slow shutter speed means that more light will enter the camera, but will cause more motion blur with moving subjects.
You can set your shutter speed from up to 30 seconds to 1/8000 of a second on most Photography cameras, unless you use Bulb mode which means you can leave the shutter open for as long as you want using a remote shutter device.
One thing you should know if you are an emerging Videographer, is that a great rule to follow for setting for your shutter speed when filming video, is doubling your shutter speed from your framerate. This is the most pleasing to the eye and gives a perfect balance of motion blur for when the film is played back.
For example, if you shoot 24fps video then you should have your shutter speed at 1/48. If you are filming slowmotion 60fps then again, shutter speed should be double your framerate at 1/120. Of course this isn't an exact rule that everyone needs to abide by, it's just a great balance that is most pleasing for the eye.
Sometimes when shooting sports or fight scenes, people like to use a higher shutter speed to evoke a feeling of speed. Usually it will be double again. For example, if you film in 24fps, then using a shutter speed of 1/96 is really pleasing with sports, but it's all down to what emotions you want your viewer to feel. Please do practice if you haven't and you will get an understanding of how to use these settings for yourself.
High Shutter Speed 1/1000
Low Shutter Speed 1/50 (Tracking Subject)
3. ISO
The ISO determines how bright your images are using the electronic sensitivity of your camera sensor. In most cameras, it can go from 100 to 25000, but it’s always best to stick to a low value.
A low ISO will output a clean high quality image, but it will be darker. While you increase the ISO, you get brighter images, but you also get more noise the higher you go.
Low ISO
High ISO
This is where it comes in to understanding your settings on your camera and why it's very important. You can judge what setting is most crucial to have when shooting different types of actions.
Best practice is to find what settings need to set to something specific, then adjust the other settings to fit around it. For example, let's say I'm shooting sports and I would like a higher shutter speed. For Photography probably around 1/1000 to get a nice sharp image, for video then around 1/100 while shooting at 25fps.
Then I would adjust the ISO to the lowest I could possibly get it, to get the cleanest image. Or if you want to be technical, you can research your cameras native ISO where the image will be the cleanest and best dynamic range. You can easily find this information on Google but it takes more research.
Then I would adjust the aperture so the light is correct. I may want to get more blur in the background so I would aim for a low aperture, but if I want the whole image to be sharp I would close the aperture up, but then I would lose light. When shooting high shutter speed with closed up aperture you will need a lot of light, and possibly have to increase your ISO.
Sometimes with filming video you may need Neutral Density filters to darken your image in bright scenarios, to maintain a low shutter speed and low aperture. Again this is what you will need to learn so you are able to judge correctly when shooting your scenes.
4. Manual Focus
Photography:
Manual focus is one of these things you will need to learn no matter what, as you can’t always rely on autofocus. Pretty much all lenses have the manual ring you can use, and some don’t even have the auto mode.
If you like to shoot macro or Milky Way pictures you need to learn how manual focus works. This is because the autofocus will struggle to see stars or objects to focus on, and will pretty much always give you a blurry image.
In general, a Photography camera will show you an outline or green bubble on your screen or viewfinder when the object you are targeting is in focus, so it’s definitely not as hard as it looks!
Videography:
Again, manual focus is one of these things you will need to learn no matter what, as you can’t always rely on autofocus. Most cinema lenses do not have auto focus. Neither do most professional video cameras like RED, Arri etc.
With video it's hard for a camera to maintain focus when shooting subjects using the rule of thirds and high depth of field. Your autofocus will most probably jump between your subject and the background, which will completely distract your viewers from your subject.
High-end productions always use a focus puller, yes that's right, one person who has one sole job of keep the lens focused. It's a career and a very high skilled job. This shows the importance of learning manual focus as we cannot rely on auto most of the time.
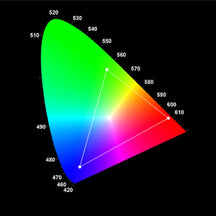
5. Color Space
The color space can give you some great advantages but also cause you a lot of work in the editing process. Generally for Photography and most Videography, the most used color space is a form of standard color.
On Photography cameras it is usually called a picture profile along the lines of 'Standard, 'Neutral' etc. With Video cameras it gets more technical.
Photography:
The 'Standard' picture profiles are usually the default in most cameras. It gives you a usable image straight out of the camera. But when you want to learn how to color grade your images, then you would want to learn about your picture profiles.
The Standard picture profile tends to add a lot of extra sharpness, contrast and saturation to make your image look ready. But when you want to enhance the colors yourself, it's hard to remove these added enhancements, then add your own. It's best to remove these enhancements before you shoot so you can enhance yourself afterwards.
But this generally does require you to color grade your images, otherwise your images can look really flat. Lightroom or Capture One are great software for this. Also using Lightroom Presets can help users color grade their photos to specific styles already created.
Videography:
The color space is really important in Videography. One of the most used professional standards for shooting video is using Log color space. All video camera companies have their own Log space, for example Canon have C-Log, Sony have S-Log and so on.
The reason professionals shoot in Log is because of the huge benefit it gives you with dynamic range. This means the shooting Log will allow you to capture more detail in the darks and highlights without them clipping. When shooting in a standard color on a bright sunny day, you have probably noticed on your iPhone that when you expose for something that isn't in direct sunlight, the sky will be blown out white in the background, which would mean there is no detail being captured there.
When shooting Log, it allows your camera to capture these bright highlights and the dark shadows without losing the detail.But what comes with this is, you will need to color grade your image otherwise you will have a very de-contrasted, non-colorful video. This is where the art of color grading comes in. Color grading is a whole new world of creation. You literally design the color you want your image to look like.
We would highly suggest to practice color grading over time. Or if you are a YouTuber or business owner that just doesn't have time yet, then that's where we come in. We have created many color presets known as LUTs (Look-up Tables) that can help with color grading or correcting. Our selection of Conversion LUTs help to color correct your Log footage back to a standard color, while maintaining the highlights and shadows. Or we have a selection of Creative LUTs that give your film a stylish look.
We want to introduce everyone on how beneficial LUTs are for many creators. Correcting Log footage can be a nightmare for most, so with LUTs that are compatible in nearly all editing software, you can just place a correction LUT on and bam, you've got a nice image + a much better range of light captured!
Conclusion
In the meantime, it’s best to experiment now that you have these 5 camera settings explained, and see what can you do. This can help you judge on how to use different settings in specific situation and be able to make good calculations on the get the perfect shot quickly.

Author
Will Sutton