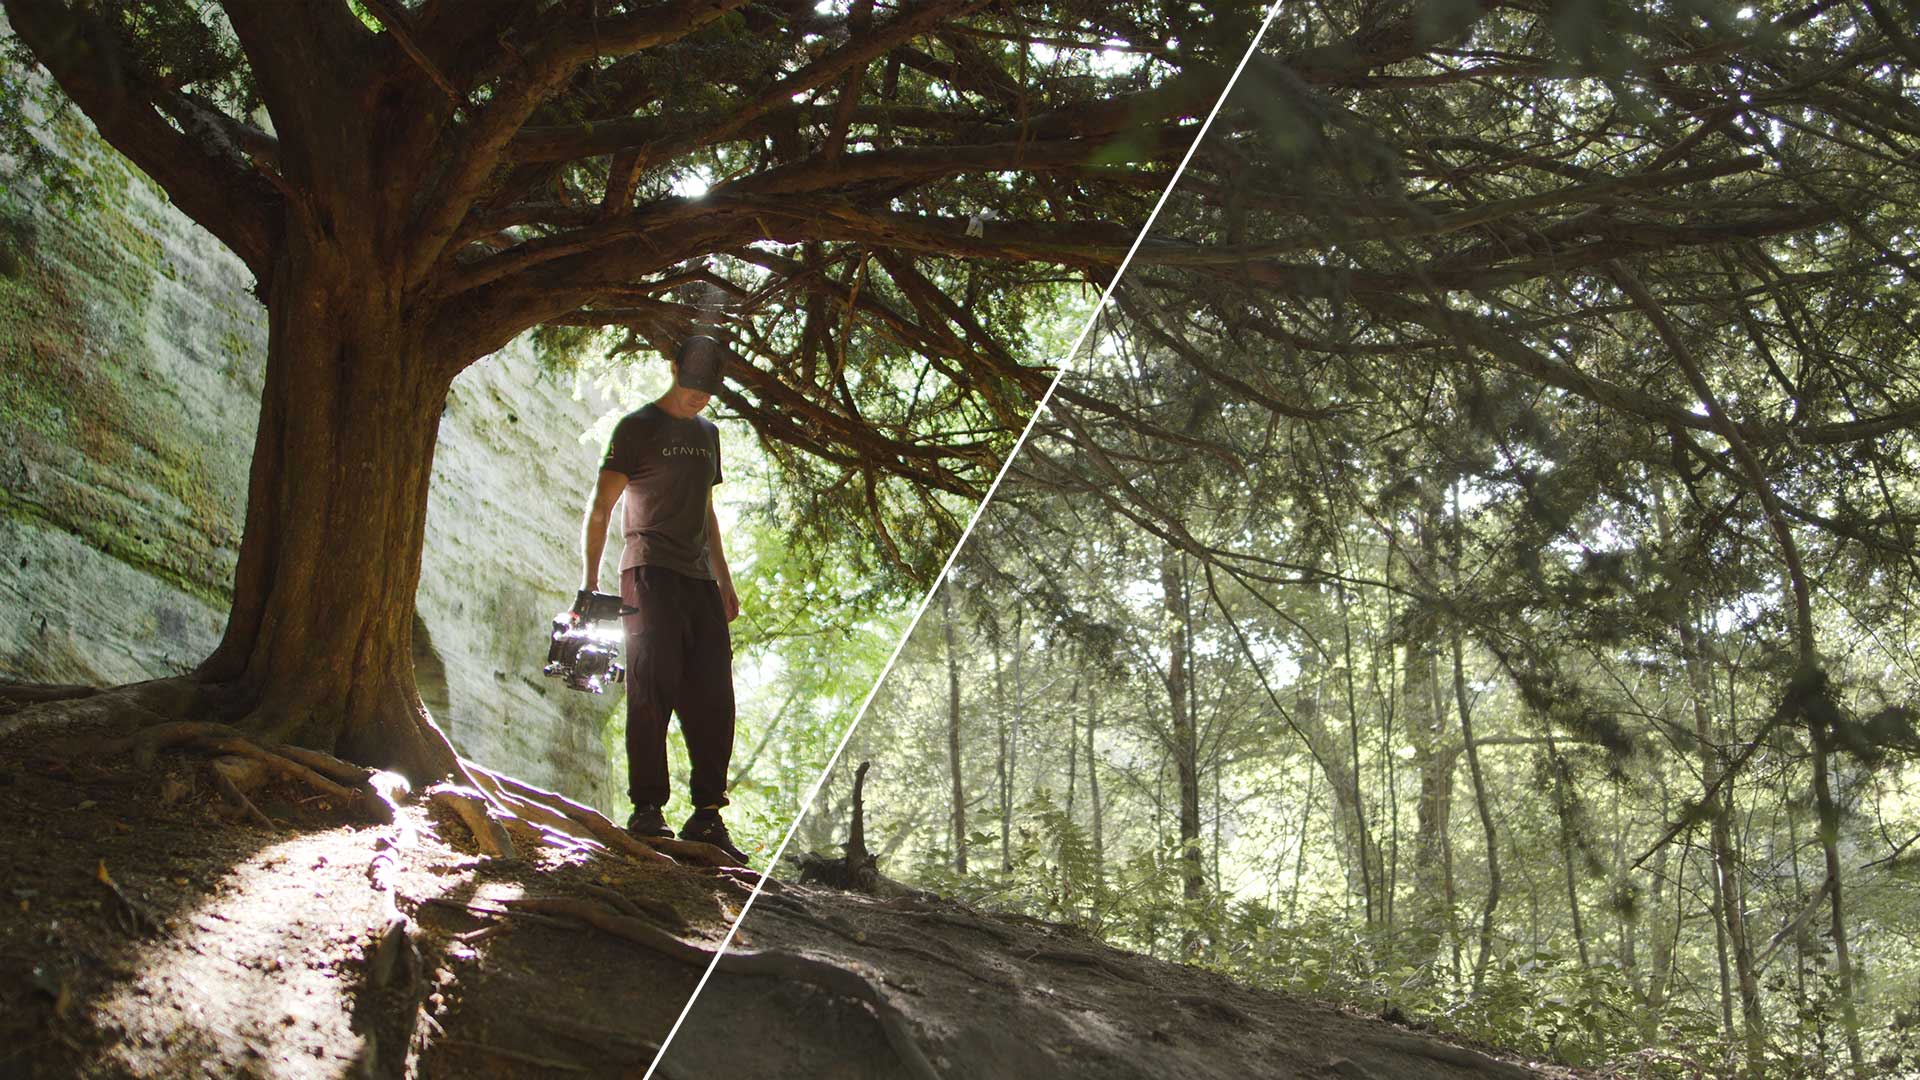

How to apply LUTs in DaVinci Resolve + Free LUTs
Mac & PC


About DaVinci Resolve
DaVinci Resolve is one of the fastest growing editing suites available now. Especially at it's price point of being free for the basic version (which has plenty of features) and a one-off fee for the full version. Learn more about the difference between the paid and free version.
It's developed by Blackmagic Design who are one of the leading camera companies, as you are probably aware with the release of the BMPCC 4K and 6K. Of course from their success over the recent years, we can all trust that Blackmagic are an amazing innovative company that only want to please their customers.When it comes to Blackmagic, I completely trust them.
RAW Workflow
DaVinci Resolve work wonders if you have a Blackmagic camera. As you might be aware, they have released their very own RAW format, revolutionising the industry for more Filmmakers to have access to RAW video, rather than having to own expensive camera like an Arri. Their BRAW format works perfectly within DaVinci Resolve.
Speed
Another loved thing about DaVinci Resolve is how fast it runs compared to other editing systems. You can render and play footage much easier.
Color Grading in DaVinci Resolve
Color grading is one the best parts about DaVinci Resolve. It is one of the most powerful widely used color grading programs to this day, used in many Hollywood movies. The color tools are super powerful, with many features other programs just don't have.
We would highly suggest to learn DaVinci Resolve because it's going to be one of the most popular editing programs in the near future.
What other cool things can you do with DaVinci Resolve?
- Masking & Tracking: With its powerful tracker, you can isolate and enhance specific areas in your video. This tool is ideal for blurring out faces or license plates, creating a spotlight effect, or even changing the color of a specific object in your scene.
- 3D Titles and Text Animation: Instead of using regular flat titles, you can design 3D titles and animate them to add a touch of professionalism and creativity to your videos.
- Fusion Effects: Fusion is a powerful compositor built into DaVinci Resolve. With it, you can create stunning visual effects like advanced particle systems, 3D compositing, keying green screen footage, and adding 2D and 3D titles.
- Speed Ramp & Slow Motion: You can use speed ramping in DaVinci Resolve to smoothly transition a clip from normal speed to slow or fast motion. This is great for highlighting certain moments in your videos.
- Audio Mixing & Mastering: DaVinci Resolve also has a feature-rich audio editor, Fairlight, which lets you mix and master your audio to professional standards. You can use it to reduce noise, add effects, and mix multiple audio tracks.
- Stabilization: You can use the stabilization feature to correct shaky footage, giving it a smooth, professional look.
- Multi-Cam Editing: If you have footage from multiple cameras, you can sync and edit them simultaneously in DaVinci Resolve. This makes editing interviews, concerts, or any multi-camera setup a breeze.
- Sky Replacement: With Resolve's compositing abilities, you can replace the sky in your shots, which is useful for dramatic effect or to enhance a dull-looking scene.
- Transitions and Effects: DaVinci Resolve comes packed with a variety of built-in video transitions and effects. You can also create custom ones to make your project unique.
- HDR Grading: With this feature, you can make your videos look stunning on HDR screens. You can define how bright specific areas of an image can get on screens that support HDR.
- Frame.io Integration: DaVinci Resolve allows for a seamless Frame.io workflow. You can share, review, and approve projects with your team right from the Resolve timeline.
- Neural Engine Features: Using AI and machine learning, Resolve's Neural Engine can speed up your workflow. It can automatically color match, create slow-motion footage, classify shots, and even upscale footage to a higher resolution.
You can see our guide on camera settings to achieve the best possible look using our LUTs.
See more of our DaVinci Resolve tutorials.
Crafted professional video editing assets for DaVinci Resolve
Important Guidelines Before Using LUTs
- Ensure white balance is correct when using LUTs! This will dramatically change the look of the LUT.
- Ensure your exposure is correct when using LUTs. You can use a histogram to help in camera or editing software.
- When using LUTs, your footage may need small adjustments to get optimal results, such as exposure, saturation, contrast, etc. depending on your preference.
- Shooting conditions such as lighting, weather, locations etc. can vary which can drastically affect a LUTs look. Some LUTs will work better in different scenarios. It’s best practice to experiment with which LUTs work best for your style and scenes.
How to add LUTs in DaVinci Resolve
There are two steps to this. We need to Install the LUTs in the software which is simply copy and paste, then step 2 is to apply the LUTs.
Video tutorial
Scroll down for a written guide.
1. Install LUTs in DaVinci Resolve
First, we need to install the LUTs into DaVinci. It's not possible to just pick and choose some LUTs quickly without doing these steps.
- Open DaVinci Resolve on your computer. Open a project.
- Click on the settings icon located in the bottom right corner. A new window will pop up.
- Go to Color Management. Scroll down and find 'Lookup Tables'. Then click on 'Open LUT Folder'.
- The LUT Folder window pops up. Drag and drop the entire downloaded and unzipped folder into the LUT Folder.
- Close the LUT Folder. In the 'Color Management' tab (step 4), click 'Update Lists'.
- Click 'Save'.
Visual Process - Installing LUTs
This is the exact same process for Mac and PC
2. How to apply a LUT to footage after installation
Now we are going to apply the installed LUTs to your videos.
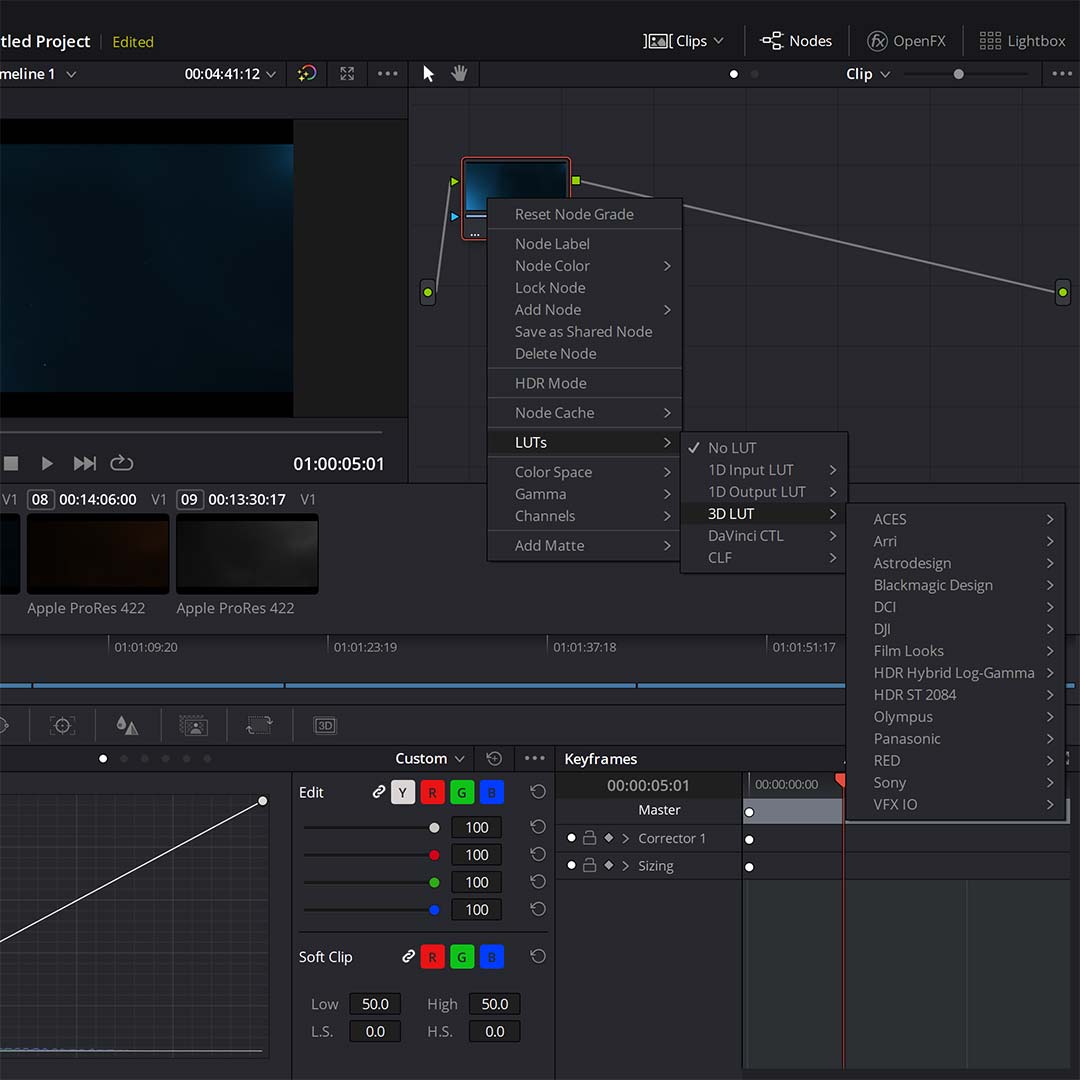
- Go to the 'Color' tab (find it at the bottom of the software).
- Right-click on a node. Go down to '3D LUT' and choose a LUT.
- Choose a LUT from the list and voilà: your footage is graded!
Now you're done!
Now you know how to add LUTs in DaVinci Resolve and apply them on your video footage to get the best out of your work. Get those creative juices flowing!
Should you find yourself troubled with any of the above, fear not, we've got you! Just let us know by contacting us and we will get you going in no time.
Have fun!
Download a free pack of our Creative LUTs here
Scroll down for more of our video editing assets to download.
If you do not receive an email, please check your spam folder. If you still have not received it, then please contact us and we are always here to help.