

Updated June 2022
How to use LUTs in Adobe After Effects
New & Updated 2022


Adobe After Effects
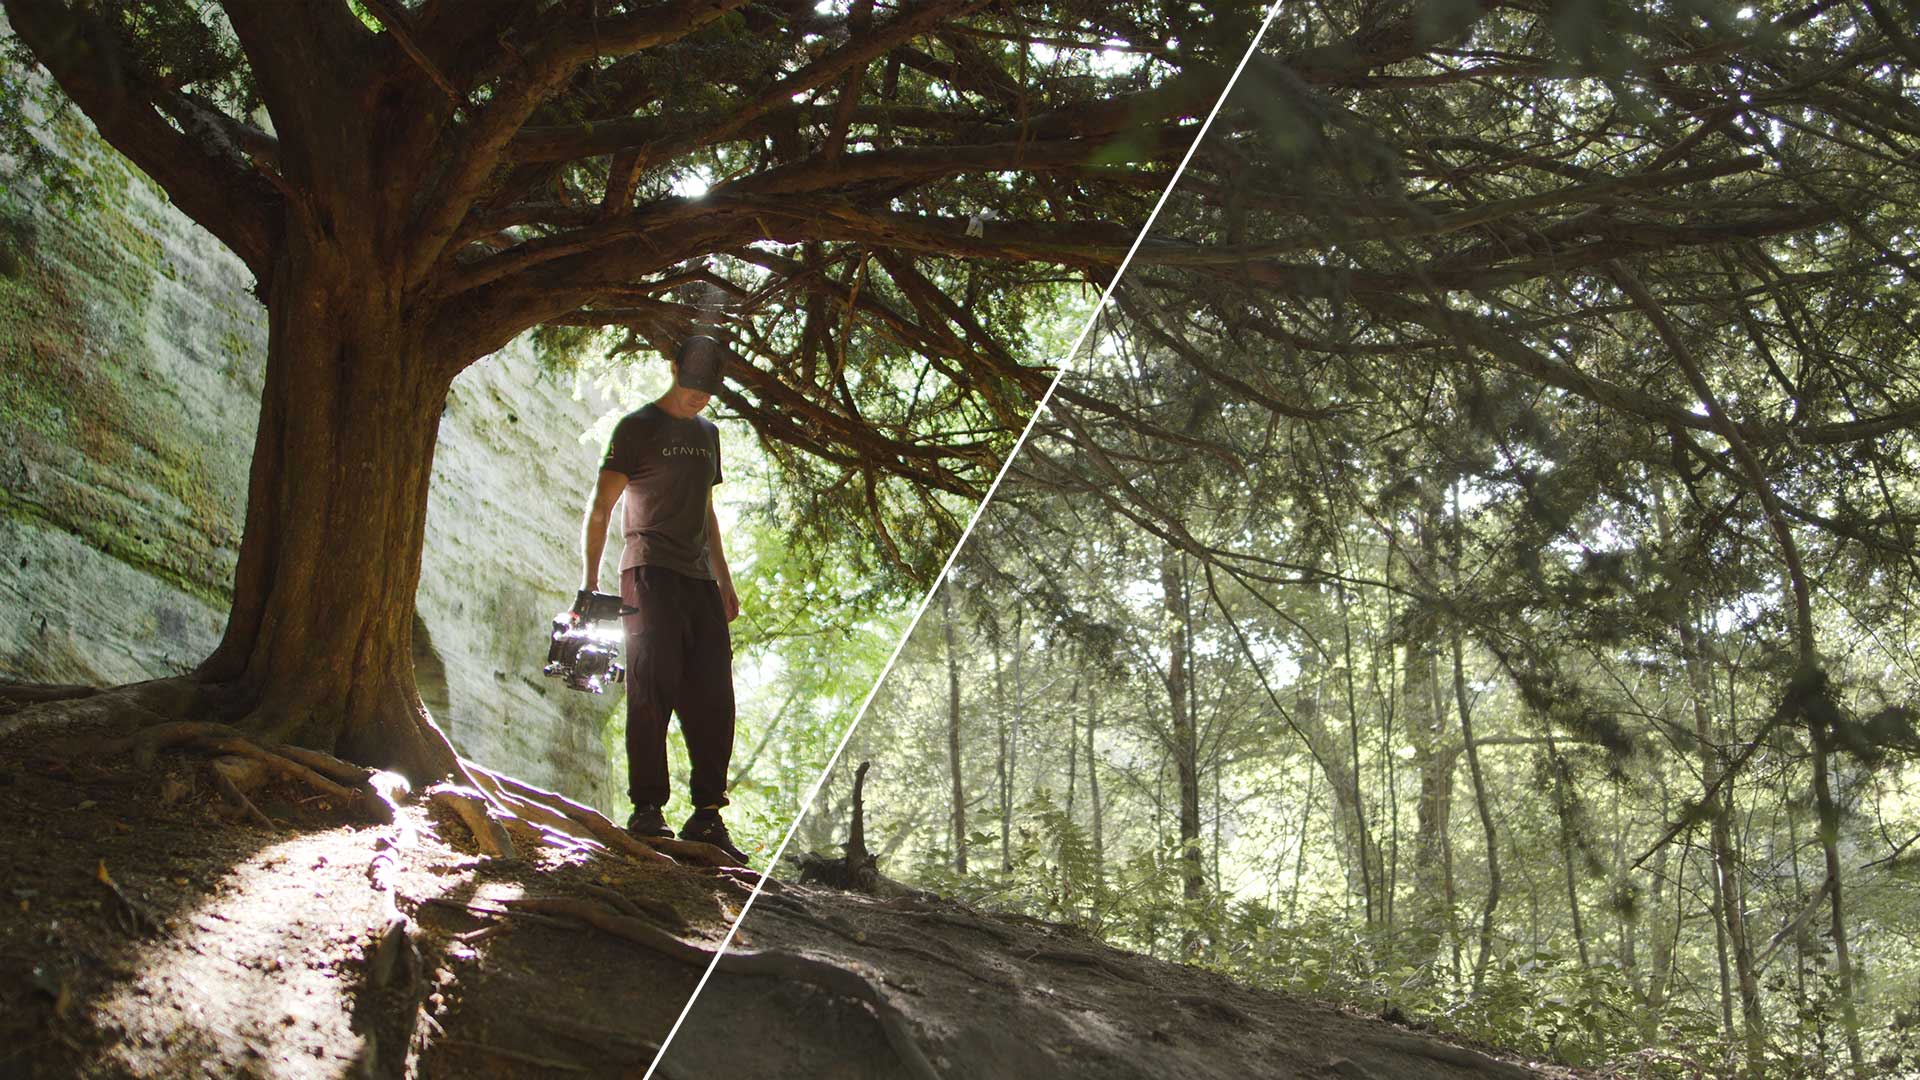
As a videographer, you need to make sure that everything that gets out of your hands is absolutely perfect, and for that, you may need to learn how to use LUTs in After Effects.
LUTs are simply Look-Up Tables and their purpose is to help you create those incredible effects, to add them to your footage, and of course, create your own style.
In this tutorial, you will learn how to add LUTs in After Effects and see how impressive the results can be. Remember to adjust your camera settings in order to achieve the best results!
Important Guidelines Before Using LUTs
- Ensure white balance is correct when using LUTs! This will dramatically change the look of the LUT.
- Ensure your exposure is correct when using LUTs. You can use a histogram to help in camera or editing software.
- When using LUTs, your footage may need small adjustments to get optimal results, such as exposure, saturation, contrast, etc. depending on your preference.
- Shooting conditions such as lighting, weather, locations etc. can vary which can drastically affect a LUTs look. Some LUTs will work better in different scenarios. It’s best practice to experiment with which LUTs work best for your style and scenes.
How to add LUTs in After Effects
Let’s now go ahead and see how you can add LUTs in After Effect, and start using them right away.
1. Download and unzip the LUT
The first thing you want to do is get yourself some very cool LUTs and unzip them. If you’re not sure what to choose, you can always take a look at our collection of LUTs. It’s important that you choose something that goes perfectly with your project.
2. Locate the “Effects and Presets” tab
The “Effects and Presets” tab should be in your workspace by default.
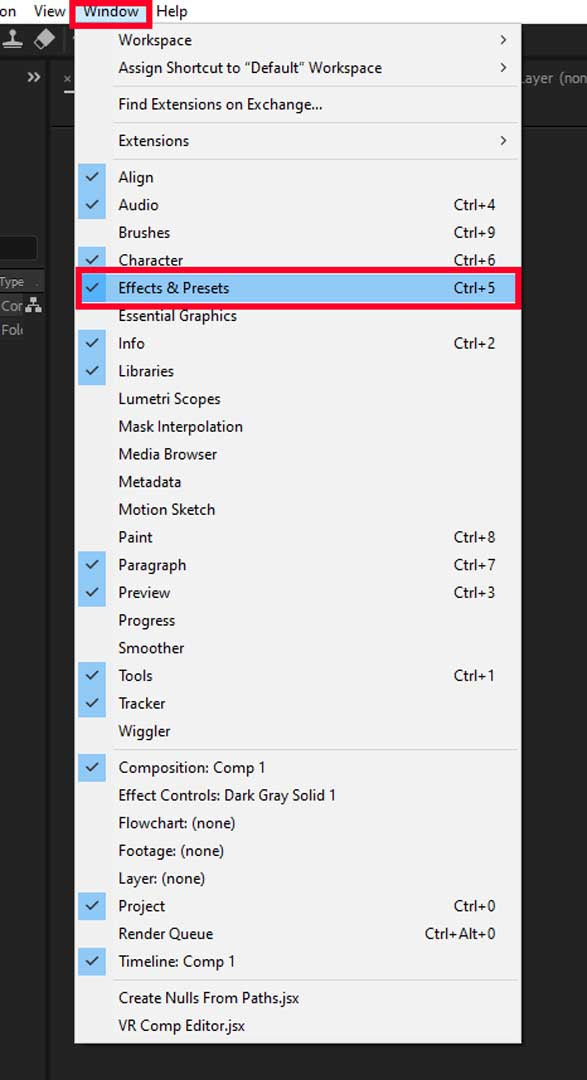
If you can’t find it, simply go to “Window” and check the “Effects and Presets” option. You can also tap “Ctrl+5” on your keyboard.
3. Search for 'Lumetri Color' in the 'Effects & Presets' panel
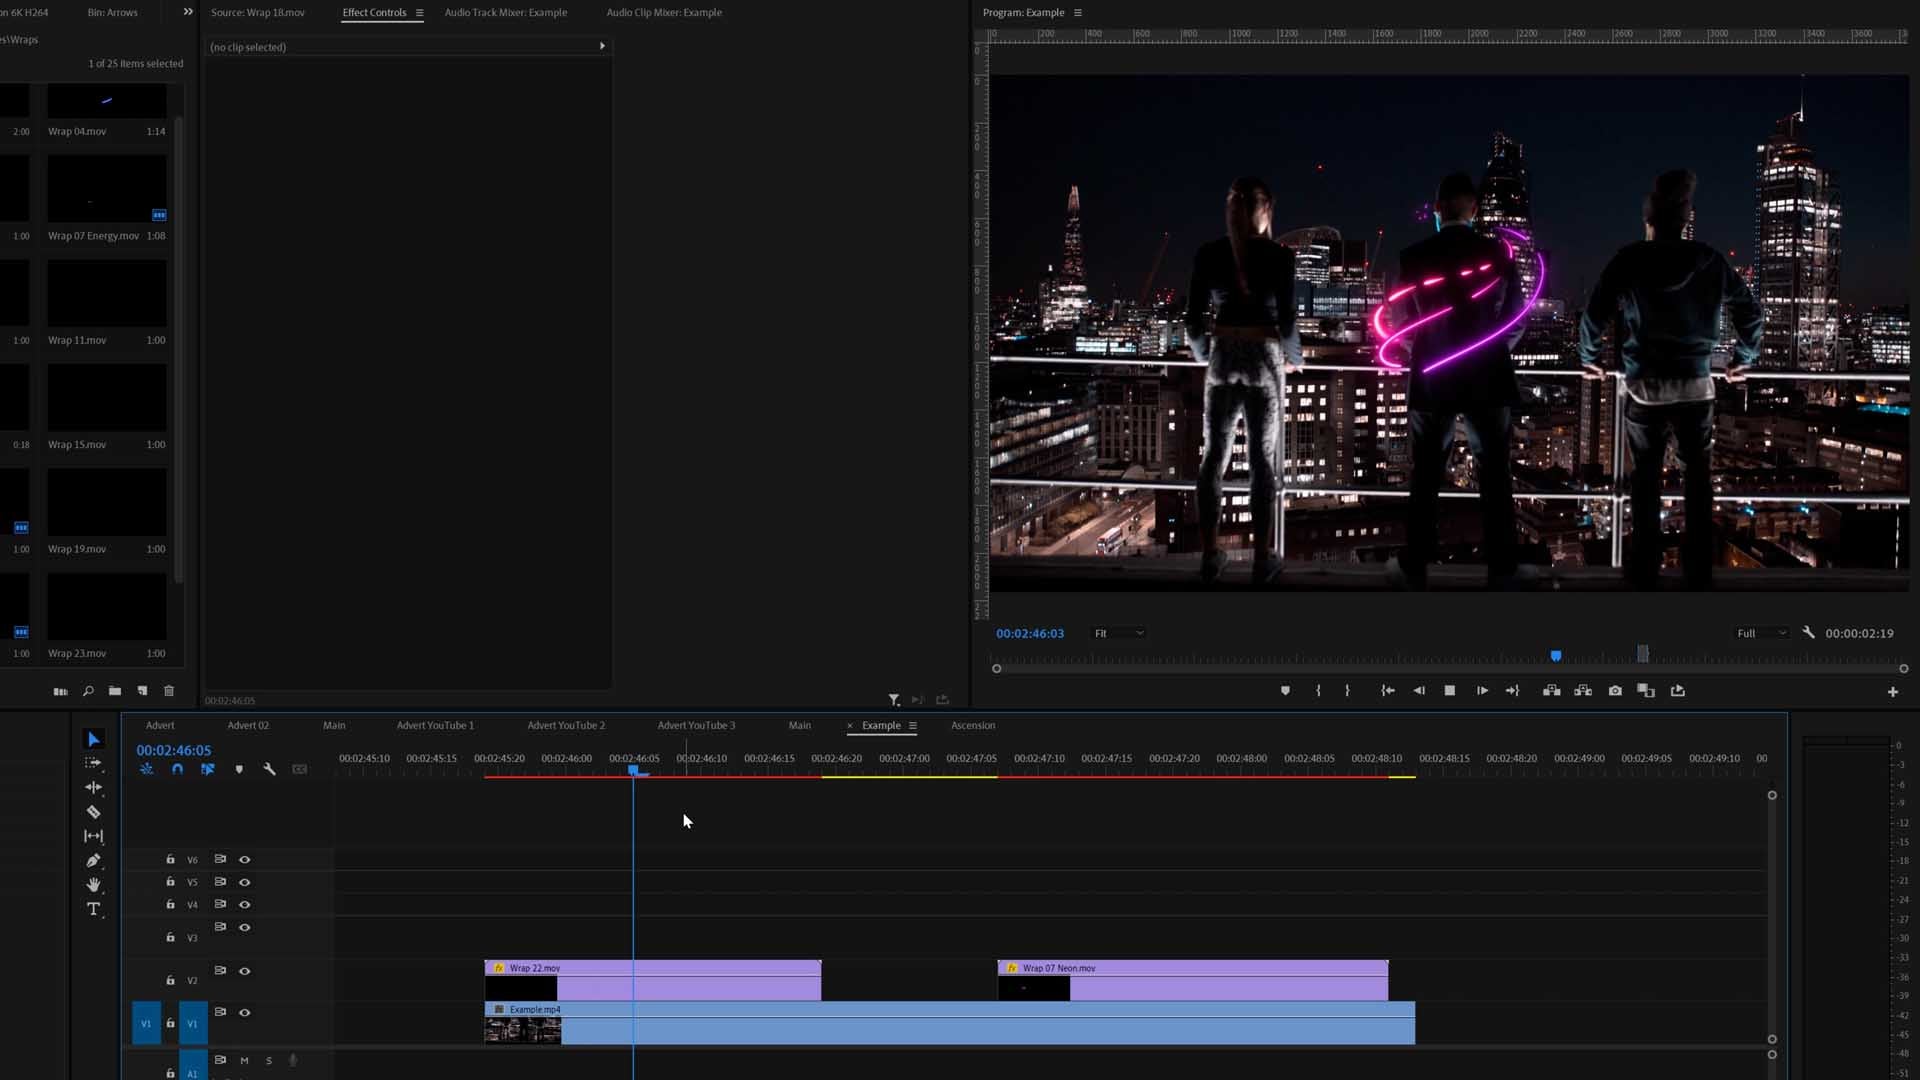
Drag Lumetri Color onto your clip you want to apply the LUT. You can apply Lumetri Color onto an adjustment layer also, which you can place above your footage in your timeline. This will apply any effects that are on the adjustment layer, to all the clips below it.

4. Applying the LUT
You can apply the effects by dragging and dropping it onto your clip or adjustment layer in the timeline. Then you can apply the LUT by going to the 'Creative' tab and find the Load LUT drop down menu. This is where you can browse your LUTs to import them.
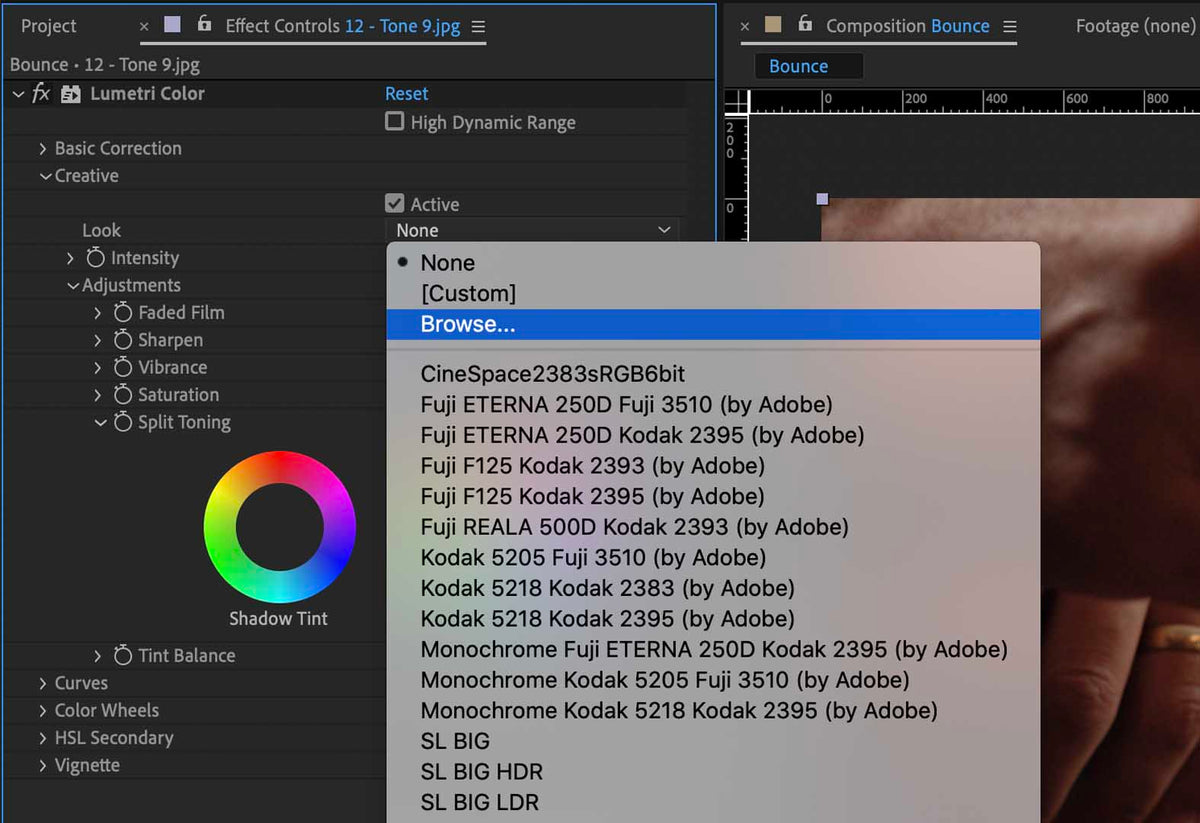
In After Effects, most of the things you apply come as effects, so simply go ahead and drag that to your composition. You will get a prompt in order to select the location of the LUT. Go ahead and select the unzipped file from the first step, and load your LUT into After Effects.
All there’s left to do now is play with the settings and find the perfect effect for your footage. It’s quite easy to add LUTs in After Effects, and it’s probably the best thing to do, especially if you are just starting in videography!
In the meantime, feel free to give us a message, whether through our contact page or send an email to support@bouncecolor.com and we’ll be right with you!
Note:
As every video is different (exposure, white balance, etc.), small adjustments are recommended to achieve an optimal result. Again, please ensure your White Balance is correct before applying a LUT. This can drastically change the LUTs look.