

24 Mar 2022
How To Change Aspect Ratio in Premiere Pro
How to Change Aspect Ratio in Premiere Pro
Aspect Ratio can be an important factor of your project. Whether you're creating a short film for a project or just editing a video of friends together, a different Aspect Ratio can have a big impact for your edit.
Below, we're going to describe exactly how to do this in Premiere Pro.
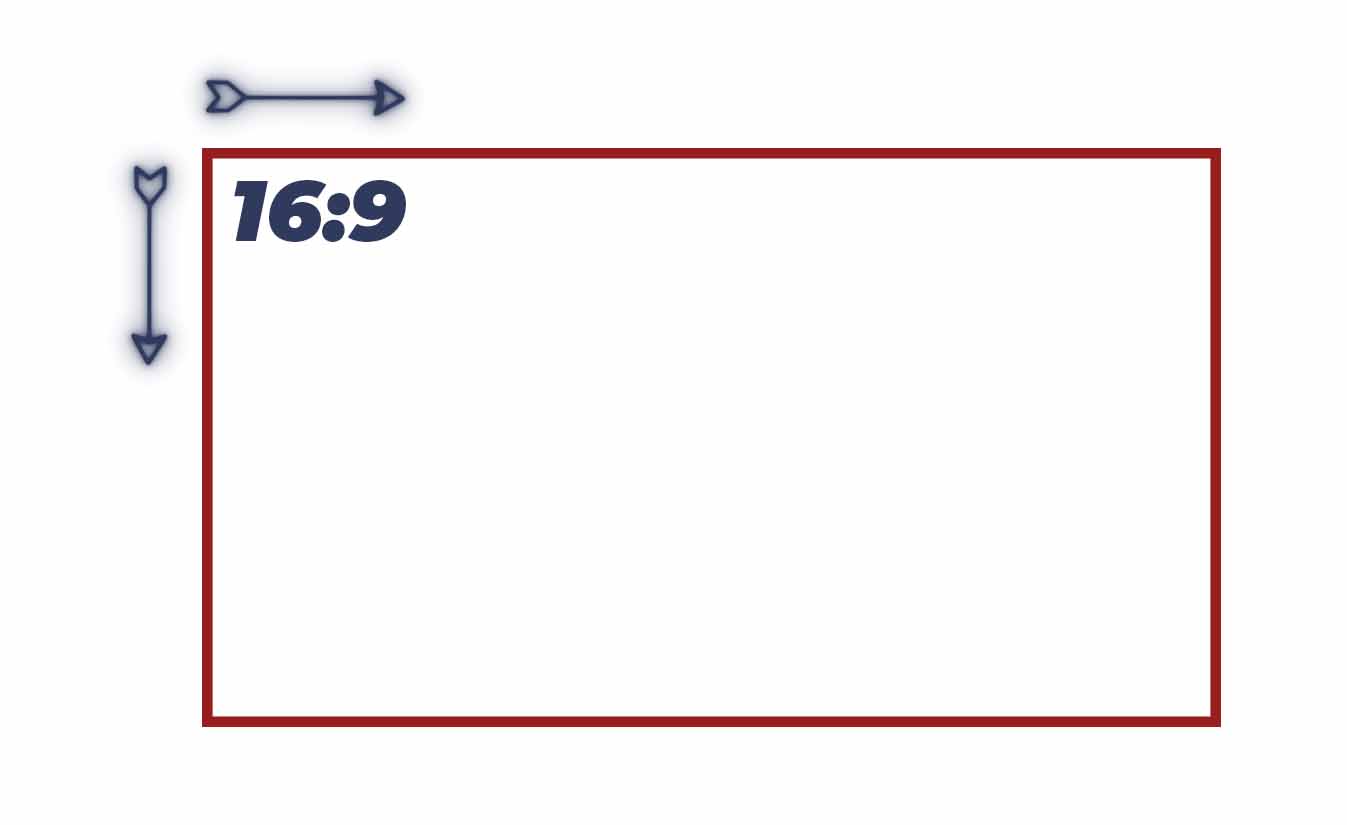
The aspect ratio is the ratio of the horizontal and vertical distance in a frame.
Quick Guide
Create a new sequence for your project by clicking on 'File' > 'New' > 'Sequence'. (You can also do this by just using the quick hotkey 'Ctrl + N'). Once you're on the sequence creation window, go to the settings tab. Now, go to the video section about halfway down and the first thing you'll see are the Aspect Ratio settings. You can change this to any Ratio you need for your project.
Detailed guide
Method 1 - If you already have a sequence
Step 1 - Find the resolution ratio you want to use
Your first step is to figure out what resolution and ratio you want to use. Many popular ones are:
- 6K 6144 x 3456 (16:9)
- 4K - 3840 x 2160 (16:9)
- 4K Vertical 2160 x 3840 (9:16)
- 4K 2160 x 2160 (1:1)
- HD 1920 x 1080 (16:9)
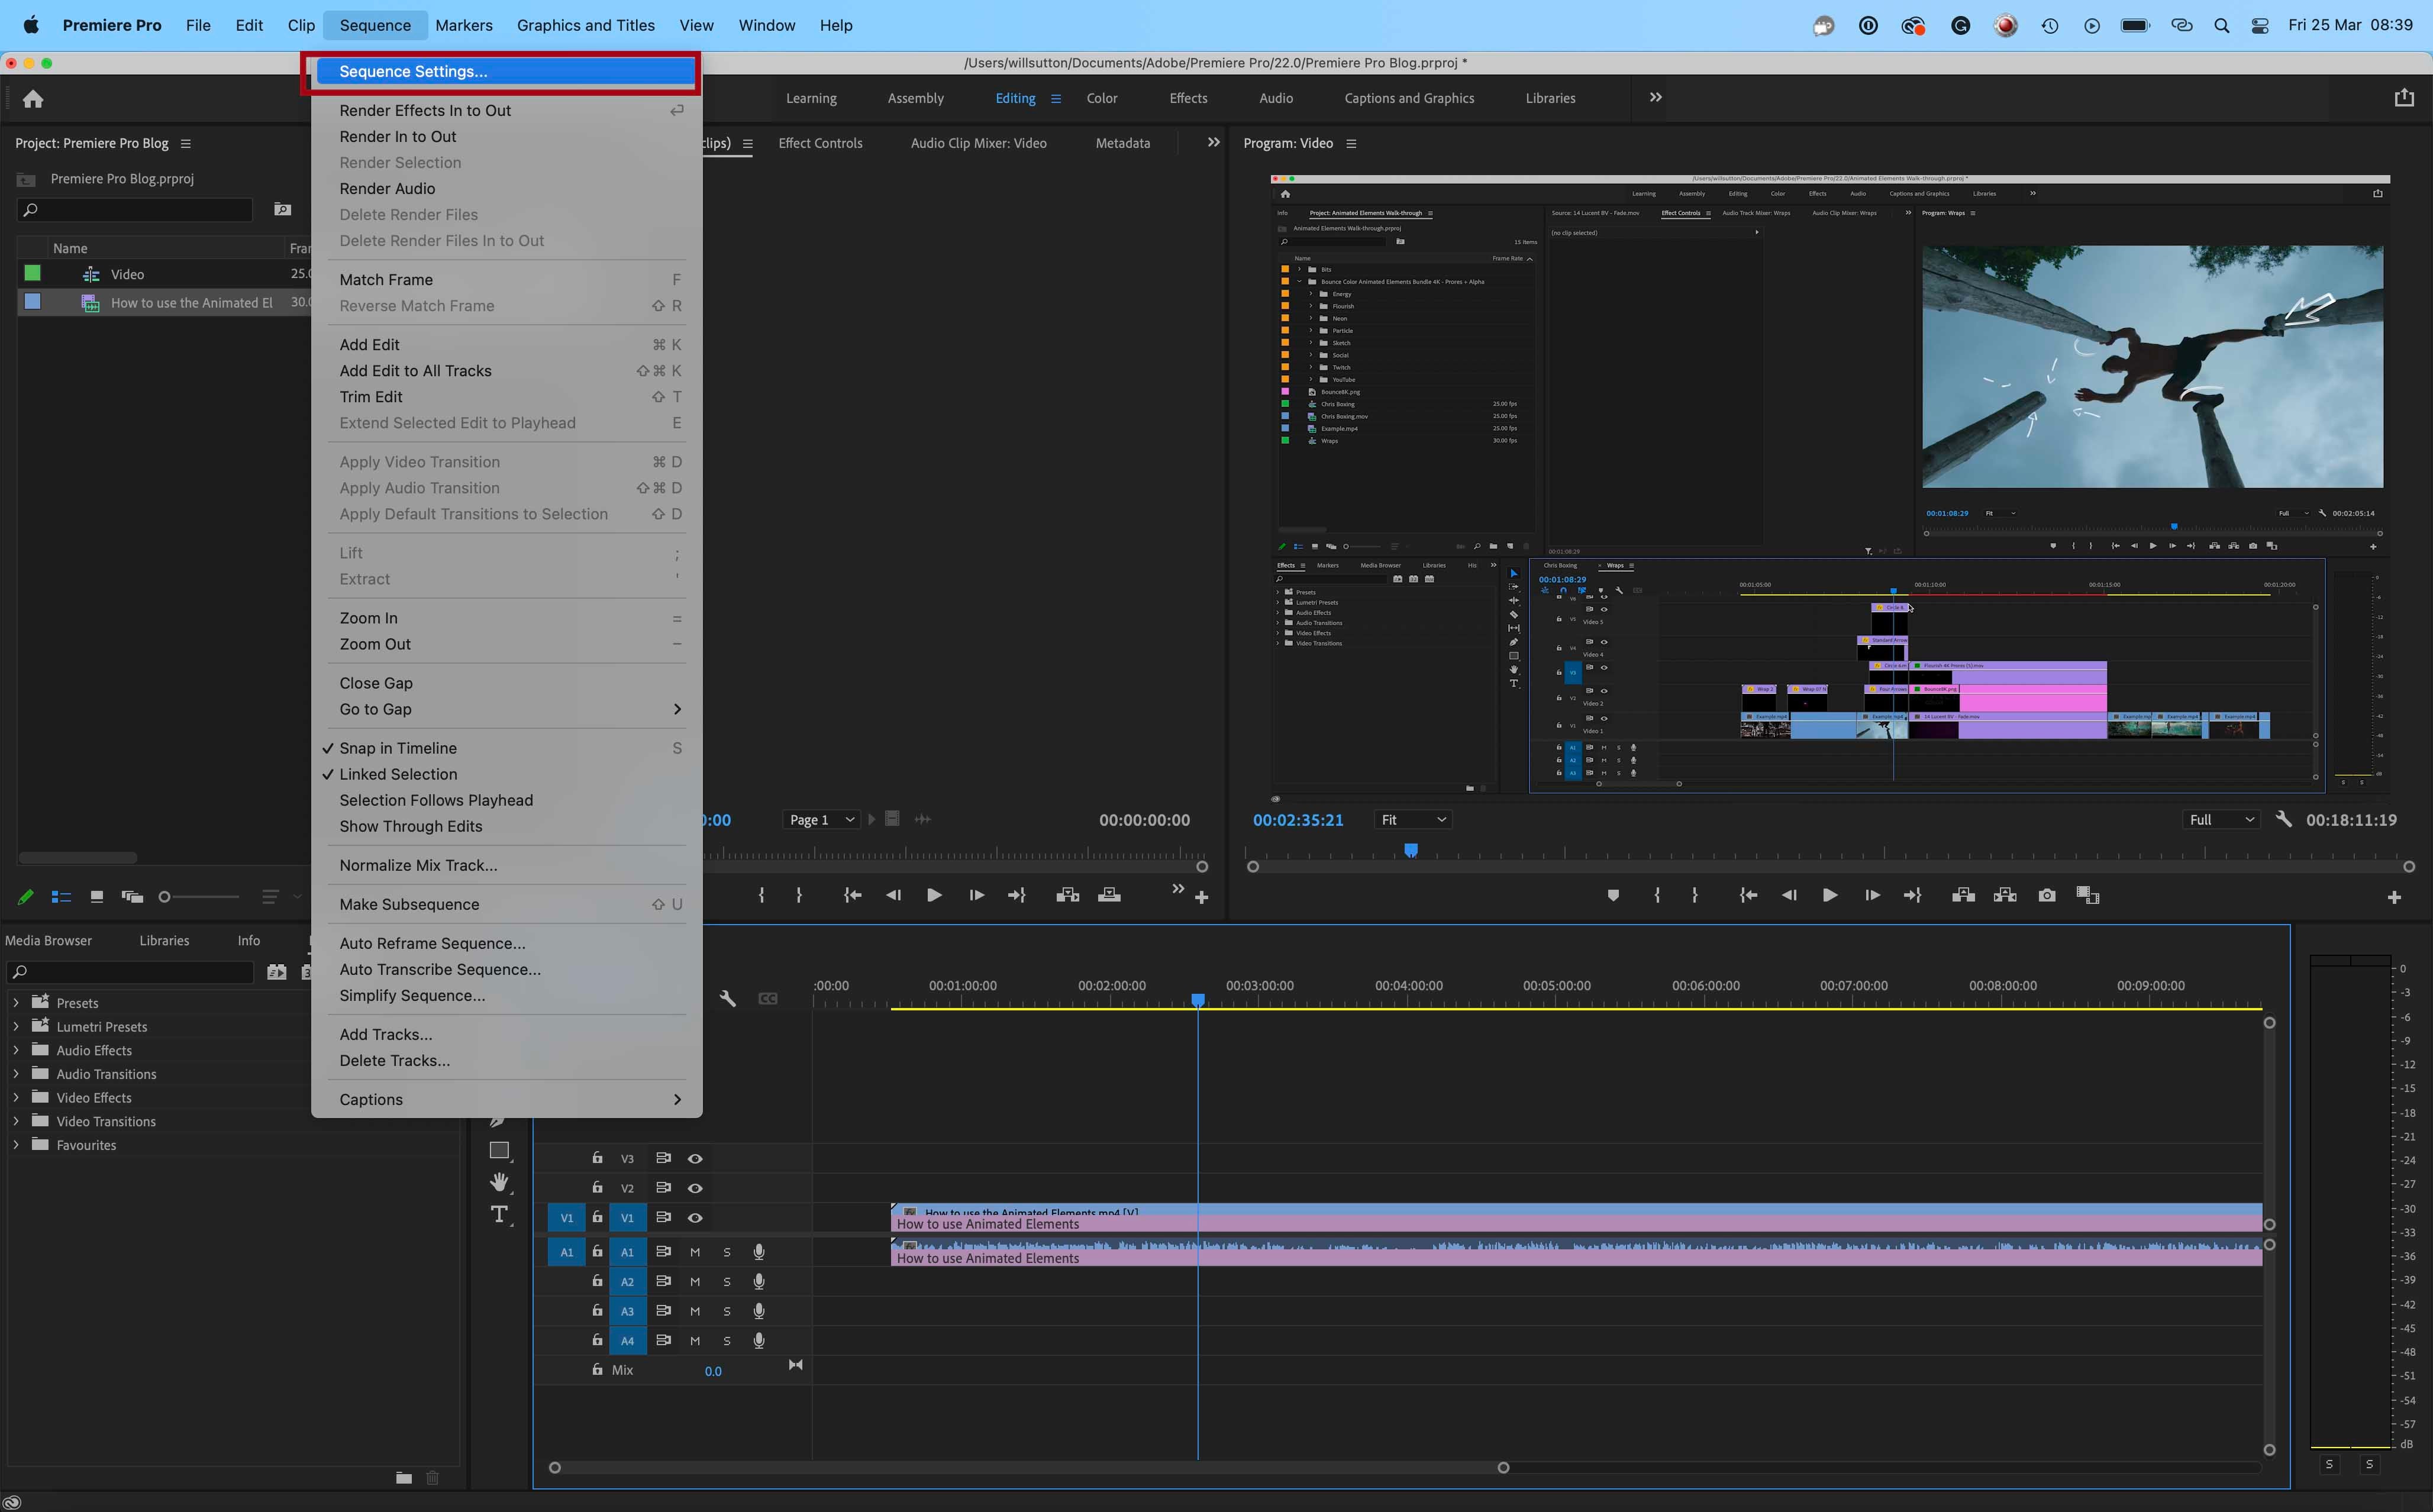
Step 2 - Click on 'Sequence' > 'Sequence Settings'
You can create a new sequence in one of 2 ways. The first and easiest is to simply press 'Ctrl+N'. The 2nd way is to go to 'File' > 'New' > 'Sequence'.
Hold off on creating your sequence just yet as we need the sequence tab to remain open for the next step.
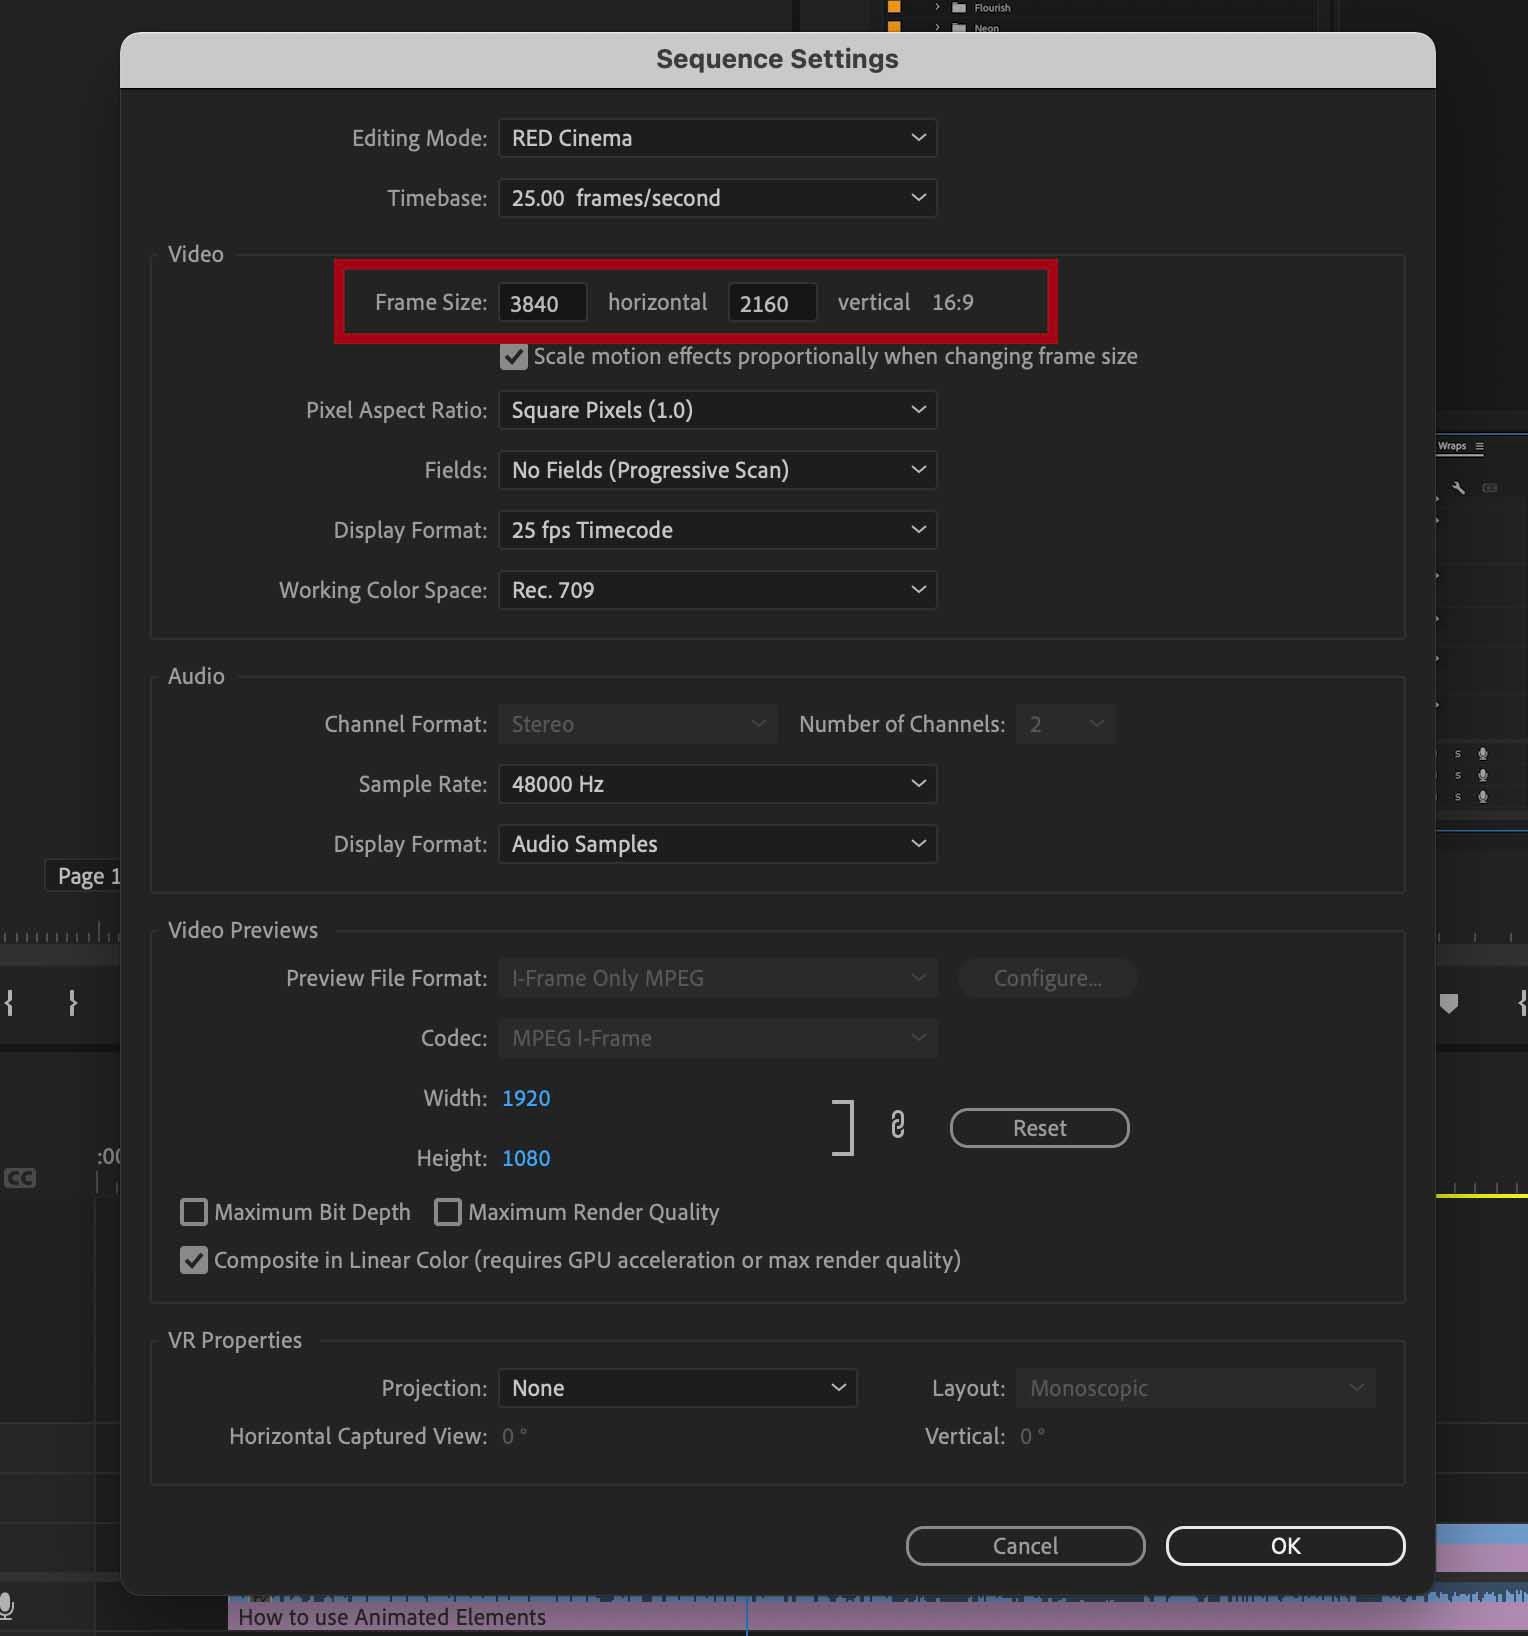
Step 3 - Change the resolution
Change the resolution to what you want to use then click 'OK'.
Method 2 - When you want to create a new sequence
Step 1 - Find the resolution ratio you want to use
Your first step is to figure out what resolution and ratio you want to use. Many popular ones are:
- 6K 6144 x 3456 (16:9)
- 4K - 3840 x 2160 (16:9)
- 4K Vertical 2160 x 3840 (9:16)
- 4K 2160 x 2160 (1:1)
- HD 1920 x 1080 (16:9)
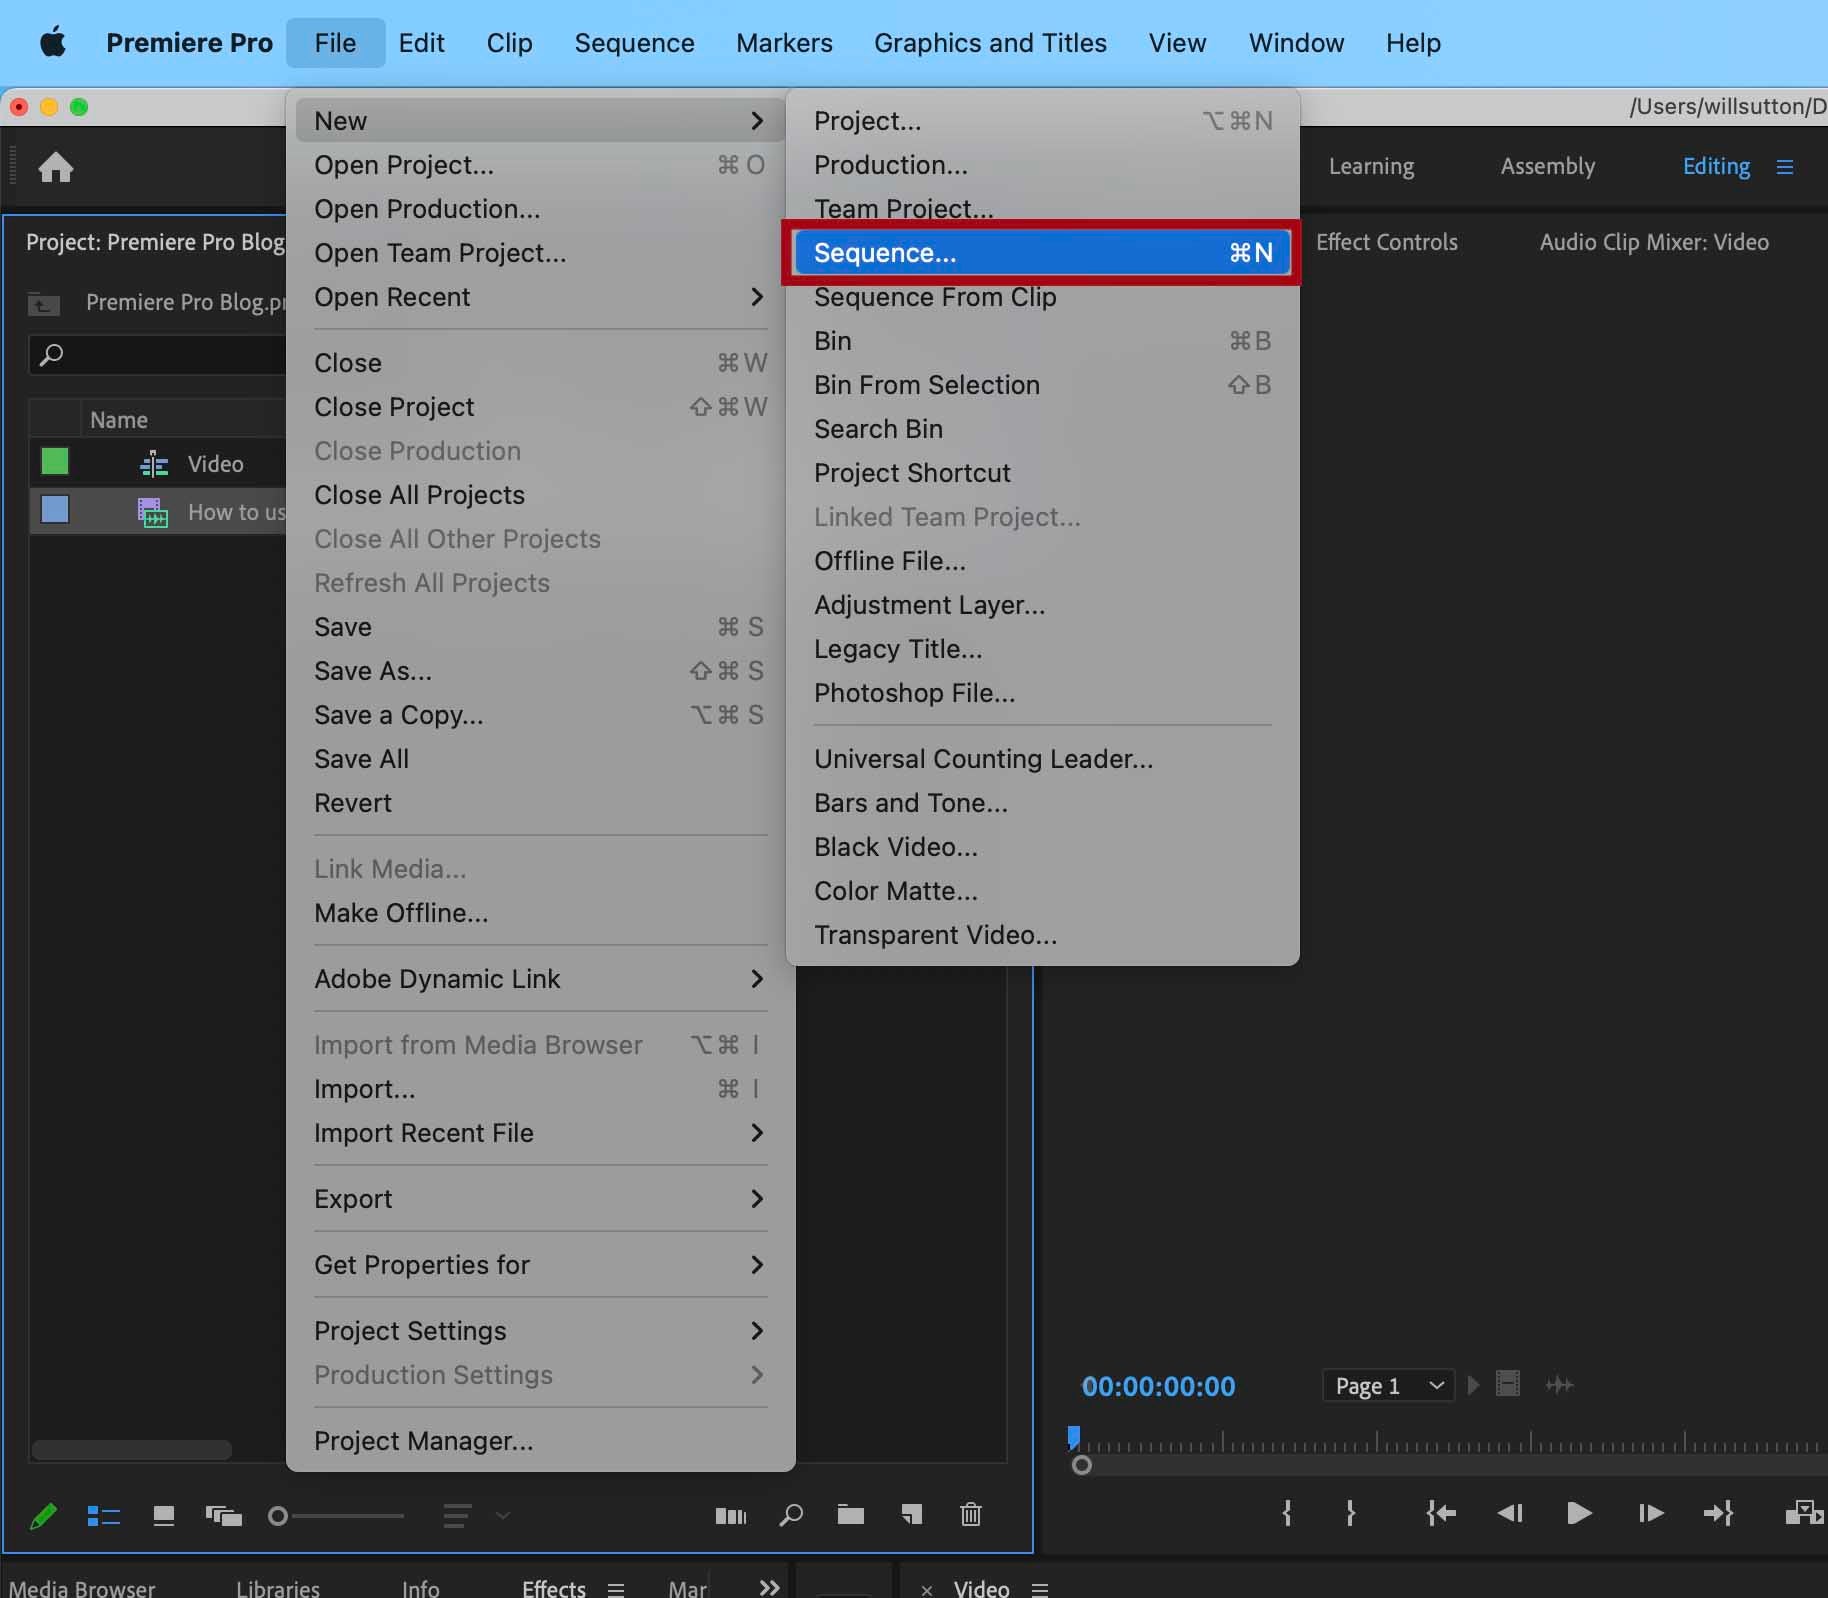
Step 2 - Create a New Sequence
You can create a new sequence in one of 2 ways. The first and easiest is to simply press 'Ctrl+N'. The 2nd way is to go to 'File' > 'New' > 'Sequence'.
Hold off on creating your sequence just yet as we need the sequence tab to remain open for the next step.
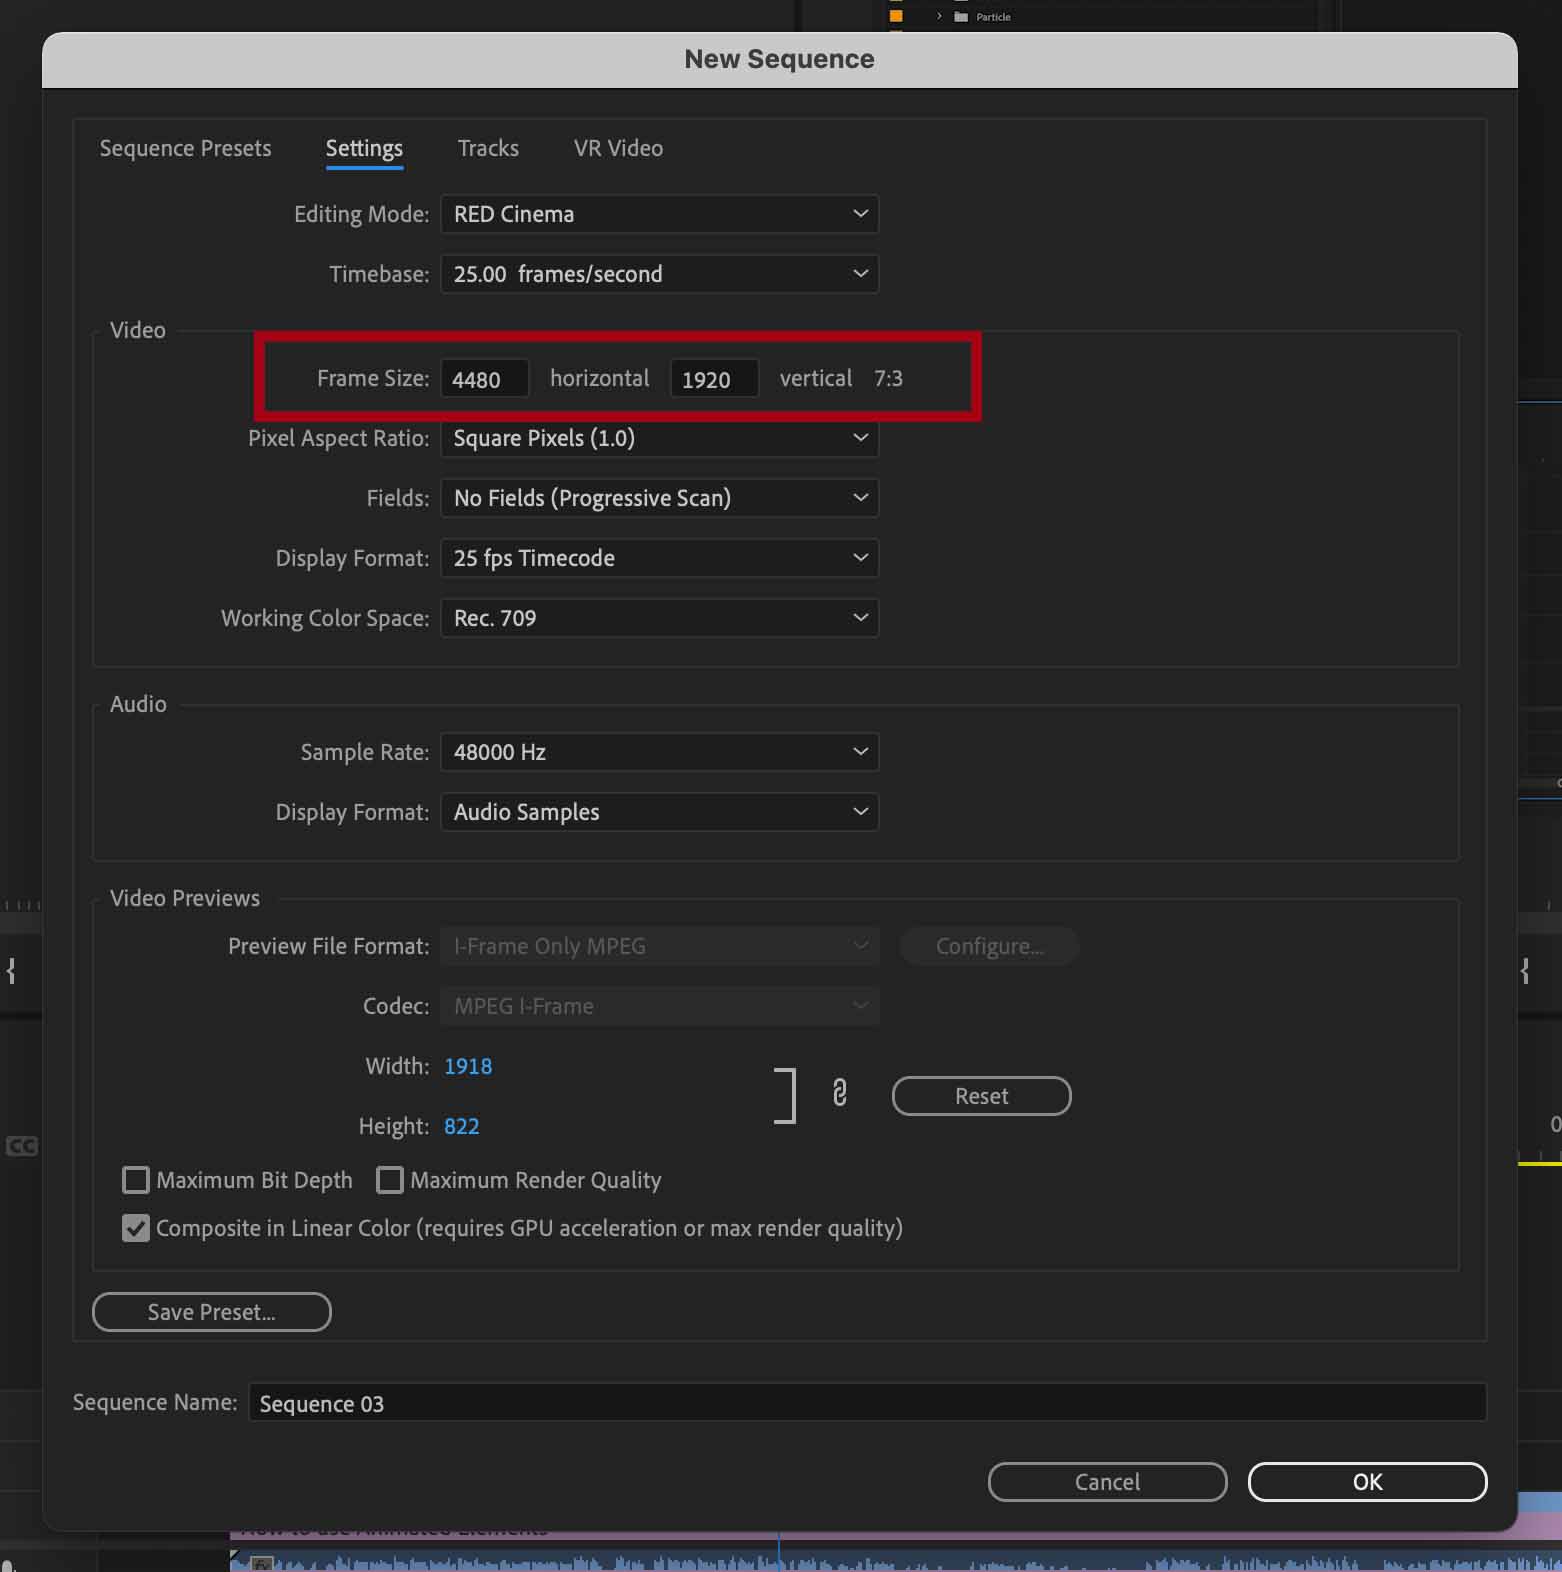
Step 3 - Go to the 'Settings' tab
Once your sequence window is open, go to the 'Settings' tab. You can find this located next to your 'Sequence Presets' tab at the top of the window.
Once in the settings tab, if you look about halfway down the window, you will see the 'Video' section. This is where you can edit your aspect ratio for your project.
You can change it however needed to fit your requirements.
Video tutorial
Summary
You should now easily be able to change your aspect ratio in Premiere Pro. Keep in mind that you can only do this for a new sequence and can't change it once your sequence is nested into your project.
If you're interested in learning more, check out our video editing tutorials to learn great tips & tricks that improve your editing skills.
If you're interested about other editing software, check out more video editing tutorials here.


Author
Robert Sutton