08 Sep 2022
How To Cut Clips In Premiere Pro

2 Methods to Cut Clips in Premiere Pro
Cutting clips in Premiere Pro is actually very simple & easy to do. While there are several ways to do this we'll be mentioning the 2 main ways that any Premiere Pro user will most commonly use while editing.
The quickest way for you to cut a clip in Premiere Pro is to hit the letter "C" on your keyboard. This will select the Razor tool, allowing you click on a clip at the point you want to cut it.
Follow below for a more in-depth tutorial.
Method 1 - Selecting the "Razor" tool button
Step 1 - Click on the "Razor" button
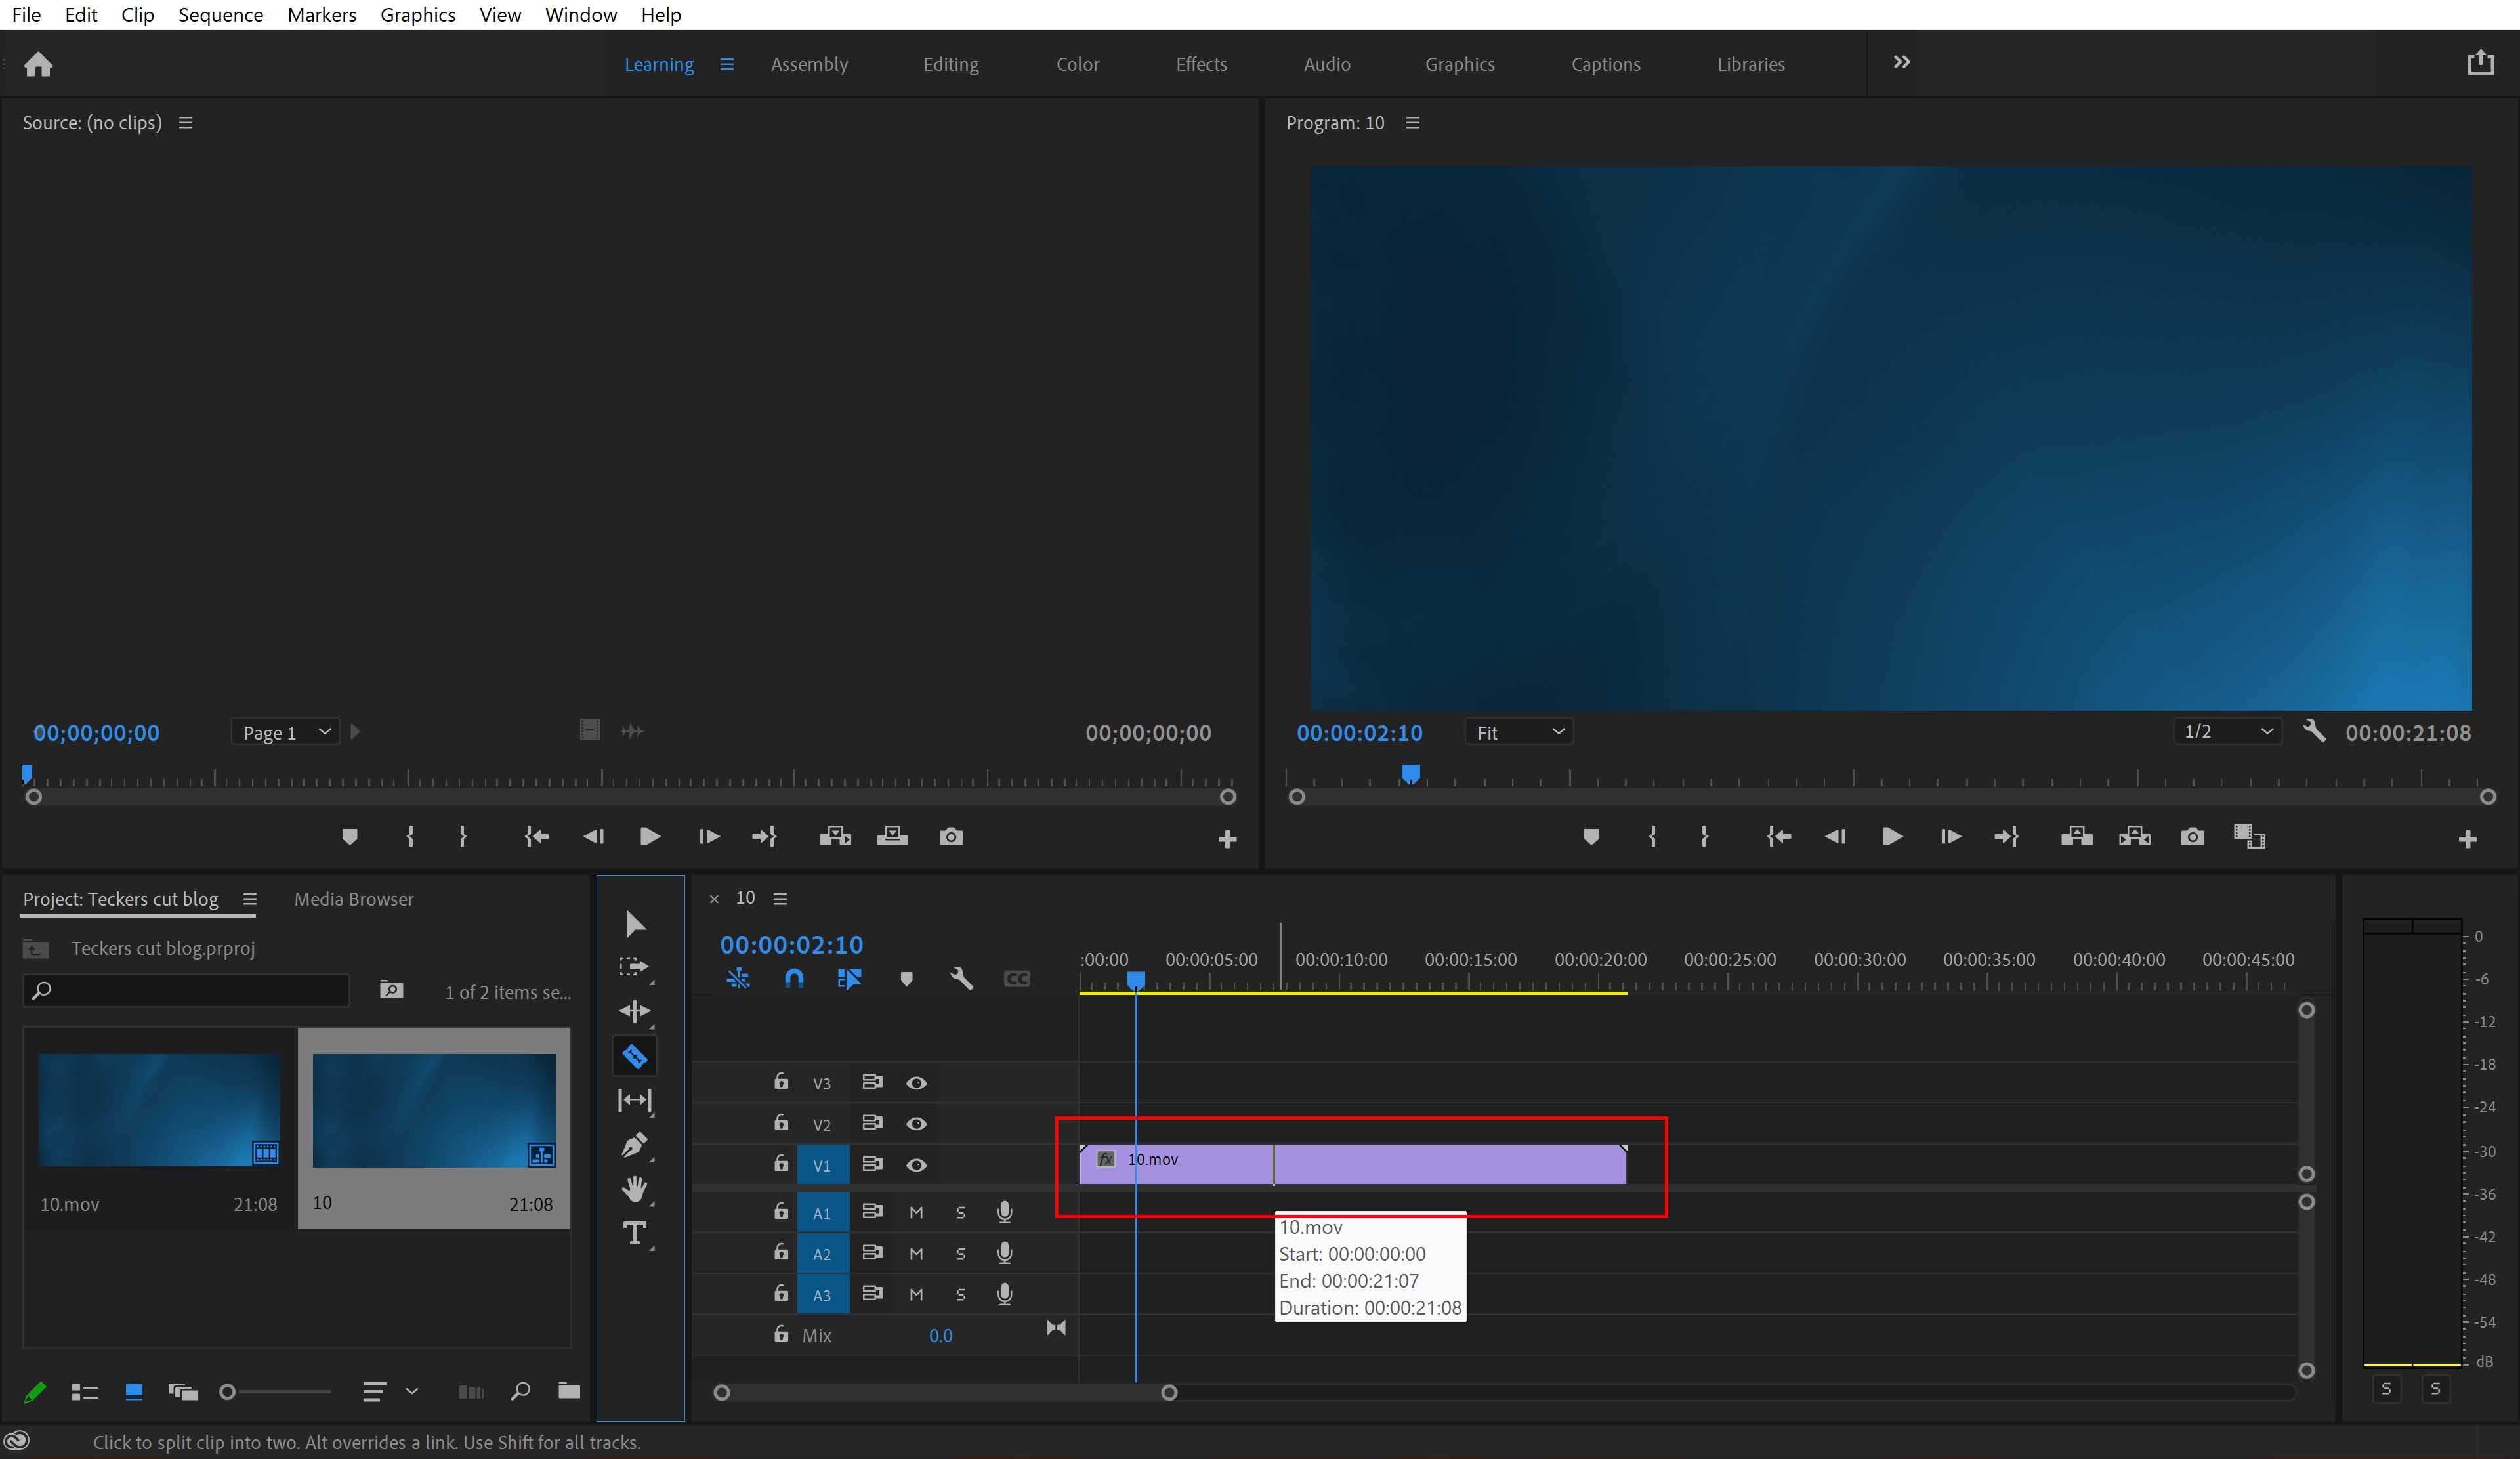
Once you have your project set up and ready to edit in Premiere Pro. Drag the clip you want to cut from the 'Project' window to your Sequence.
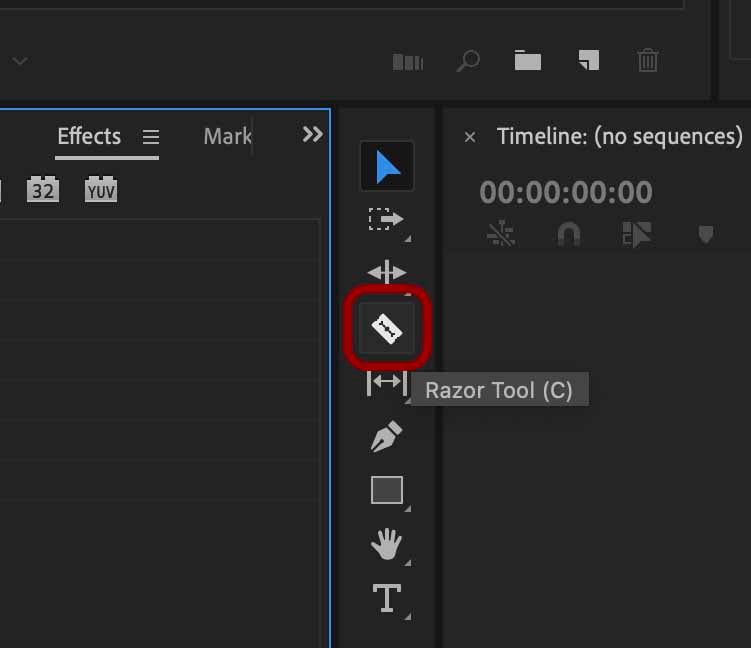
Once done with this, click the "Razor" tool as shown in the red box below.

This will enable you to cut by clicking on the clip where you want to separate it into 2 separate clips

Method 2 - Using the Hotkey Shortcut
This method is actually quicker and easier than the first method we've mentioned. Provided that you haven't changed any of the default hotkeys in Premiere Pro.
Tap the letter "C" on your keyboard. This will automatically select the Razor tool for you so you can cut any of your clips in your sequence.
Summary
You should now be able to efficiently cut clips within Premiere Pro as easily as anyone else can.
If you're interested in learning more, check out our video editing tutorials to learn great tips & tricks that improve your editing skills.
If you're interested about other editing software, check out more video editing tutorials here.


