

May 2020
Tips & Tricks for getting
the most out of LUTs
by the Bounce Color Team
Use cases of LUTs
LUT in simple terms, is a video color grading preset that is compatible with all major editing software. A LUT has many uses, from beginners all the way up to the professionals on Hollywood films.
LUTs in big budget movies
In big budget films, a LUT is commonly used by placing a 'Look' on the monitors viewed by the director and other roles on set.
This helps to get a rough idea on how to film will look once graded. It's isn't the final color of course, but it's a rough idea that usually is planned before hand to help set the scene with lighting.
Helping beginners to color grade
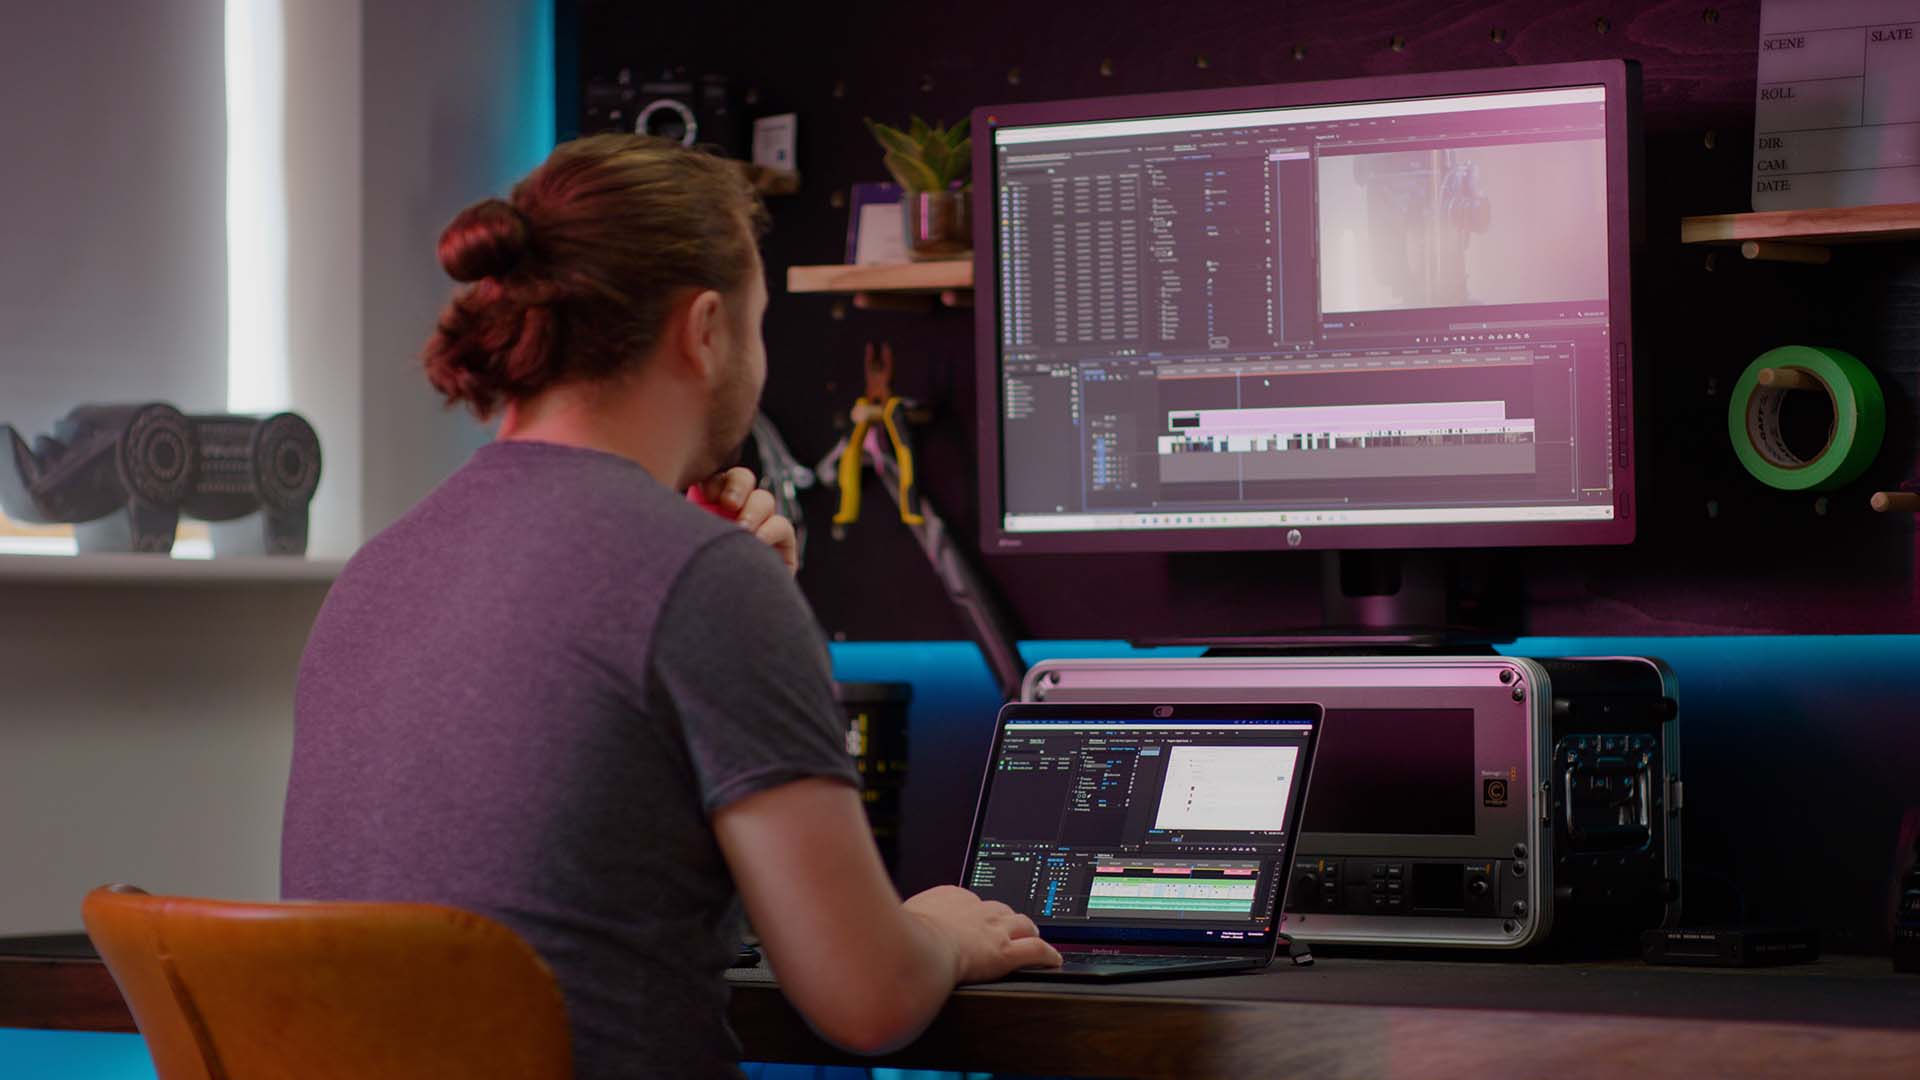
For beginners, a LUT is incredible to help people step into the world of color grading. It's essentially a color preset for video editors, that is universally compatible with nearly all editing software such as Premiere Pro, DaVinci Resolve, Final Cut Pro and much more.
Using LUTs on Camera Monitors
LUTs are also very popular in the Filmmaking community whether you are a seasoned expert, intermediate or even beginner.
LUTs can be used on most cameras internal & external monitors to get a live view of what your footage will look like when the LUT is applied in the editing software. When the LUT is live on a monitor, it never records that look onto the footage. It will record the footage as if the LUT was never applied.
Think of it as wearing a pair of color grading sunglasses while you film, which of course doesn't record the LUTs colors onto the footage. You can then turn the LUT off after recording to see without the LUT. This is a super handy way of getting an idea of what style of grade you want to achieve in the editing process.
Filming in Log profile and using LUTs on Camera Monitors
Another huge benefit to placing your LUTs onto your monitors is that a lot of people love shooting in LOG format. Log color profile is essentially a really flat image with very little contrast and saturation.
This helps the camera to achieve a high dynamic range (HDR) by maintaining the details in the darkest shadows and the brightest highlights. As the camera has been able to capture such a wide latitude of light, you can then use a LUT in your camera monitor or editing software to bring back the contrast and saturation to a standard look, while maintaining the details in the shadows and highlights.
Monitor calibration
Another incredible use for LUTs is on computer monitors. You may have heard of monitor calibration? This is widely overlooked by a lot of people.
Monitor calibration is super important when it comes to color grading. You want to make sure that the colors you create on your monitors are the true representation of the colors, so that when the video is viewed on other calibrated devices, you will have successfully shown the colors you were meant to.
Many Photographers & Videographers use monitor calibrators, especially if they are professionals they are expected to always portray true colors.
All Apple computers have their monitors calibrated direct from the store which is a huge benefit for editing on a Mac. But with Windows you need to be careful because most of the time, when people buy PC's, you will buy the monitor separate.
The monitor is mostly not calibrated for use on your specific computer. But if you buy a laptop, then you should be OK for monitor calibration as it will calibrated to your computer specification. Apple again are widely known for having a perfect set up computer, straight out of the box.
If you want to learn more about monitor calibration please check our article. Also you can check out our monitor buying guide for video editors.
You can find a variety of cinematic LUTs available, expertly developed by our professional team of videographers, simply by following this link: View Film LUTs
Introduction to LUTs
We want to introduce everyone to how easy and beneficial it is to use LUTs.
LUTs are used in many different scenarios from creative looks, calibrating monitors or even log conversion LUTs. They are universal compatible in most editing software as well as monitors which makes them ultra handy to transfer between all your devices.
Here's a list of tips and tricks using LUTs:
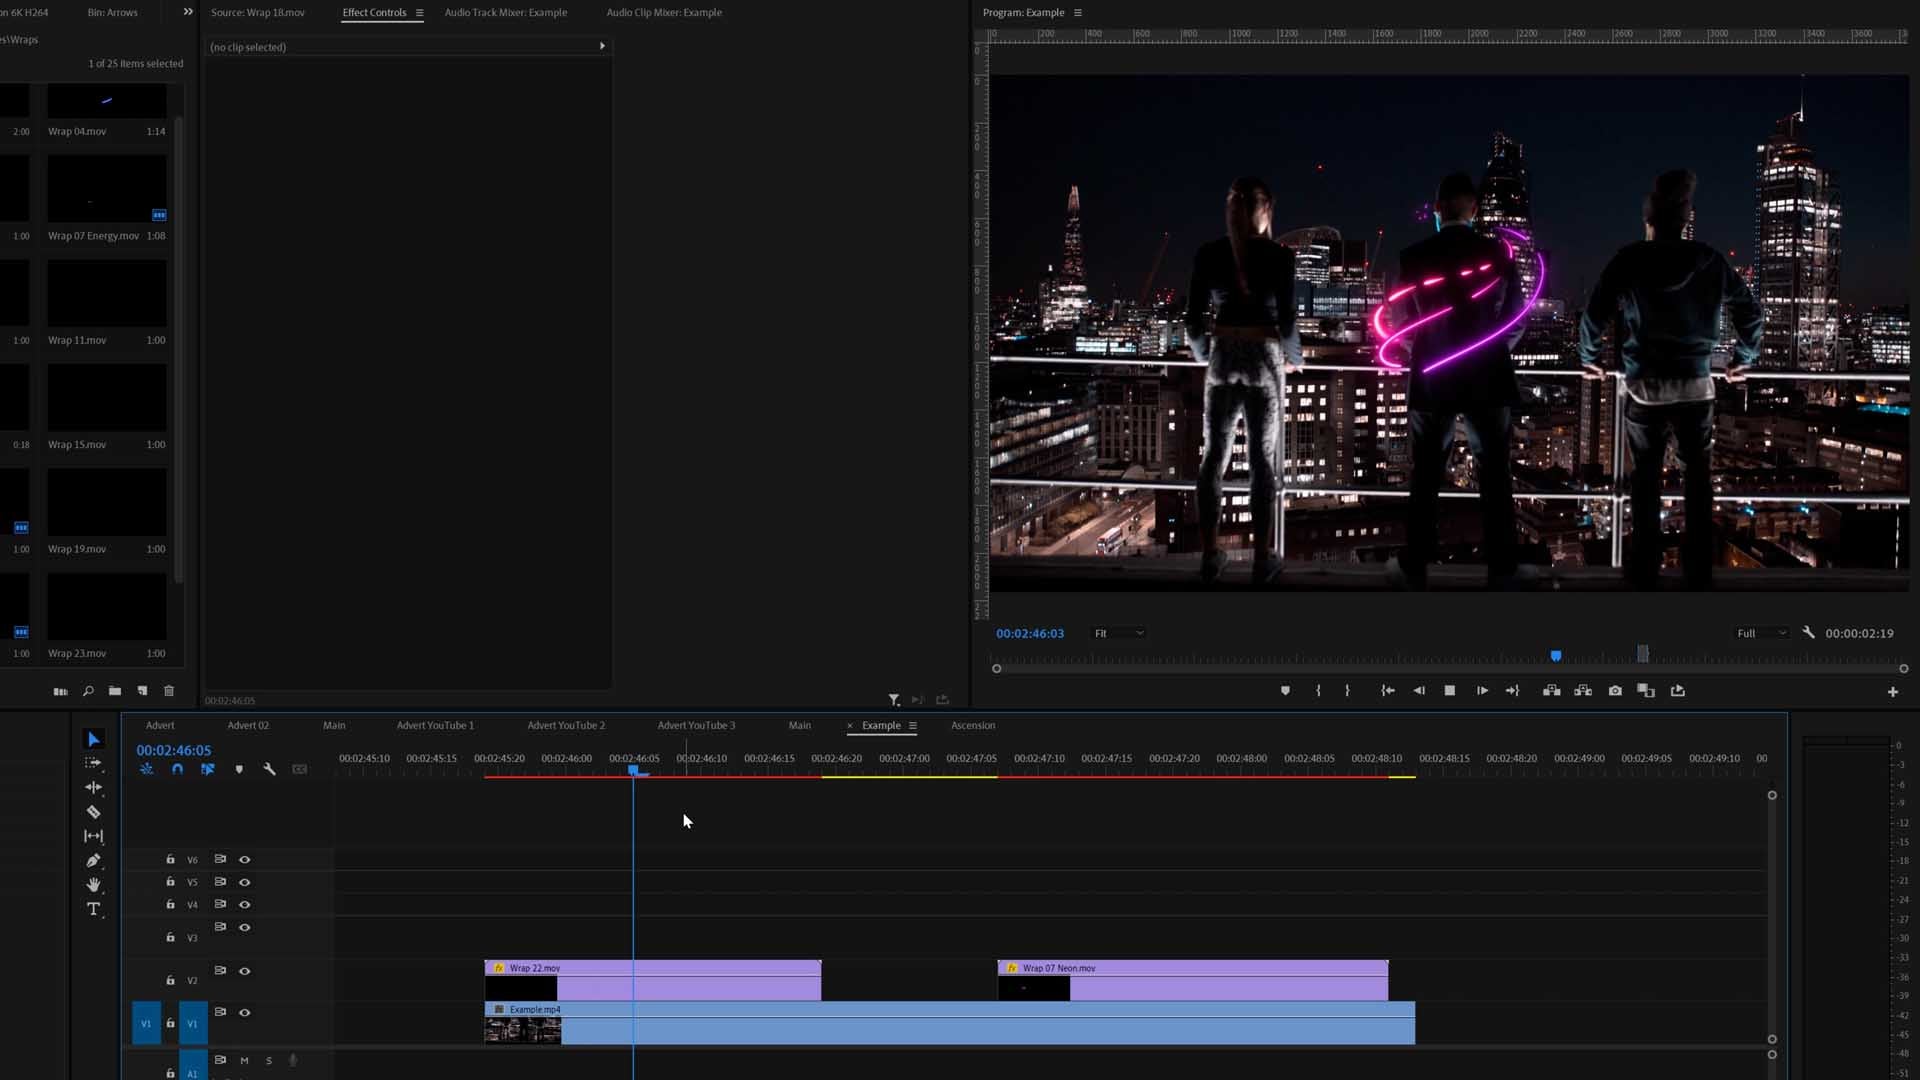
1. Combining LUTs together to achieve unique looks
LUTs don’t just have to be used on their own, they can be used together to give your film a unique look. This is one of our favorite ways of using LUTs as it can really make your color grading stand out.
For these examples we are using Adobe Premiere Pro CC, but you can use this same technique on all editing software like Davinci Resolve, Final Cut Pro X, Filmora, Vegas Pro and many more.
How to combine your LUTs:
Find your effect for importing the LUT, we use ‘Lumetri Color’ for Premiere Pro (FCPX uses ‘Custom LUT’) then drag and drop this onto your footage.
- Find your effect for importing the LUT, (we use ‘Lumetri Color’ for Premiere Pro. FCPX uses ‘Custom LUT’) then place this onto your footage.
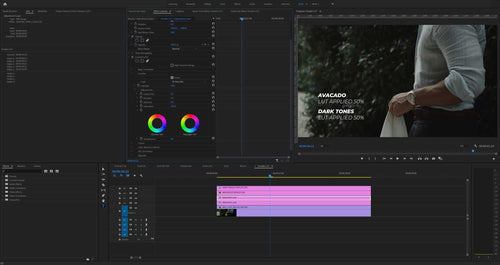
- If you’re using Lumetri Color, open the creative tab, click the drop-down and click ‘Browse’, find your chosen LUT and click it.
- Once applied you will see a toggle called ‘Intensity’, use this, and bring it to around 50%.
- Next step is to add another ‘Lumetri Color’ effect onto your footage so there is 2. Open up the creative tab and follow the steps above and find a different LUT. Once you can put the intensity to 50% then you can play around with different LUTs and find what works with each other.
You may like the shadows of one LUT, but then the general tone of another! This is a great way to find a unique look that no one else has probably found.
Here is an example of this below:
No LUT Applied
1st LUT Applied
1st & 2nd LUT Applied

Comparison Slider
Subtle differences but you can be as extreme as you want depending on your taste, this is just an example.
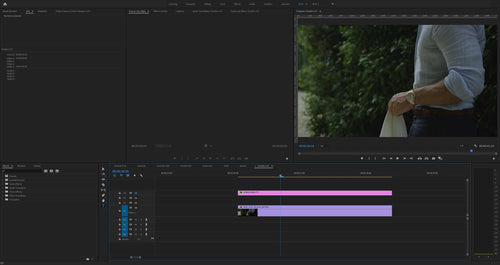
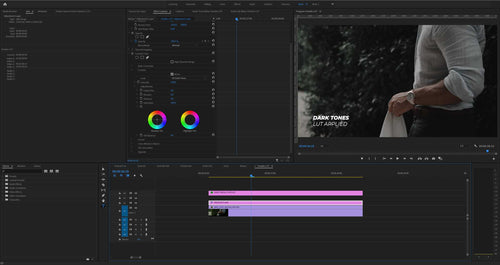
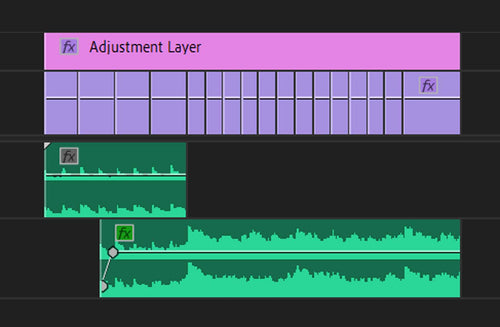
2. Using an Adjustment Layer
A great way to use LUTs is by applying one of them as a finishing LUT. Once you have your timeline set, then you can apply the LUT over all of your footage to give your film a similar tone. A good workflow to do this is by editing all your footage in the timeline.
Then get an adjustment layer and place it on the layer above all of your footage, the adjustment layer will then affect everything underneath it. Place the LUT importer (Lumetri Color for Premiere Pro) in the adjustment layer, then go to the drop-down and import the LUT. You can change the intensity in the ‘Creative’ tab in Lumetri Color.
If your program doesn’t have an intensity toggle, there is alternative way you can do this. Using the adjustment layer, go to the ‘Opacity’ settings, then you can toggle this to your desired choice. This will change the opacity of the adjustment layer on your footage, which has the same effect as using the ‘Intensity’ toggle. Most programs should have either of these two options.
To get the most out of Finishing LUTs it’s important to make sure that the footage you put in the timeline is colour corrected. This means that you match all the shots exposure, white balance etc. Ensure they all have the correct white balance for their lighting.
It’s also important to note that the exposure is right before placing colour, as it can frantically change the look of the LUT if it isn’t corrected. If you’re using log footage, you can use this technique by adding another adjustment layer below the colour adjustment layer and then placing the log - rec709 conversion LUT inside. To see how we do this, keep reading!
3. Using LOG Conversion LUTs, then applying a Rec709 Standard LUT
A great way of grading your LOG footage is by using a clean natural LUT to bring your footage back to a crisp natural color. Then you can apply Rec709 LUTs on top of your footage.
On Premiere Pro there is a specific way to do this:
- Drag ‘Lumetri Color’ onto your video clip, open the ‘Basic Correction’ tab, browse for your LOG conversion LUT and select it.
- Once selected, go to the ‘Creative’ tab, go to browse LUT and then find your creative finishing LUT.
This will be the best approach to use for this process. The method for other programs such as Final Cut or Davinci Resolve are done in a similar way.
Basic Correction LUT

Creative LUT

4. Using a LUT as a base grade for your work
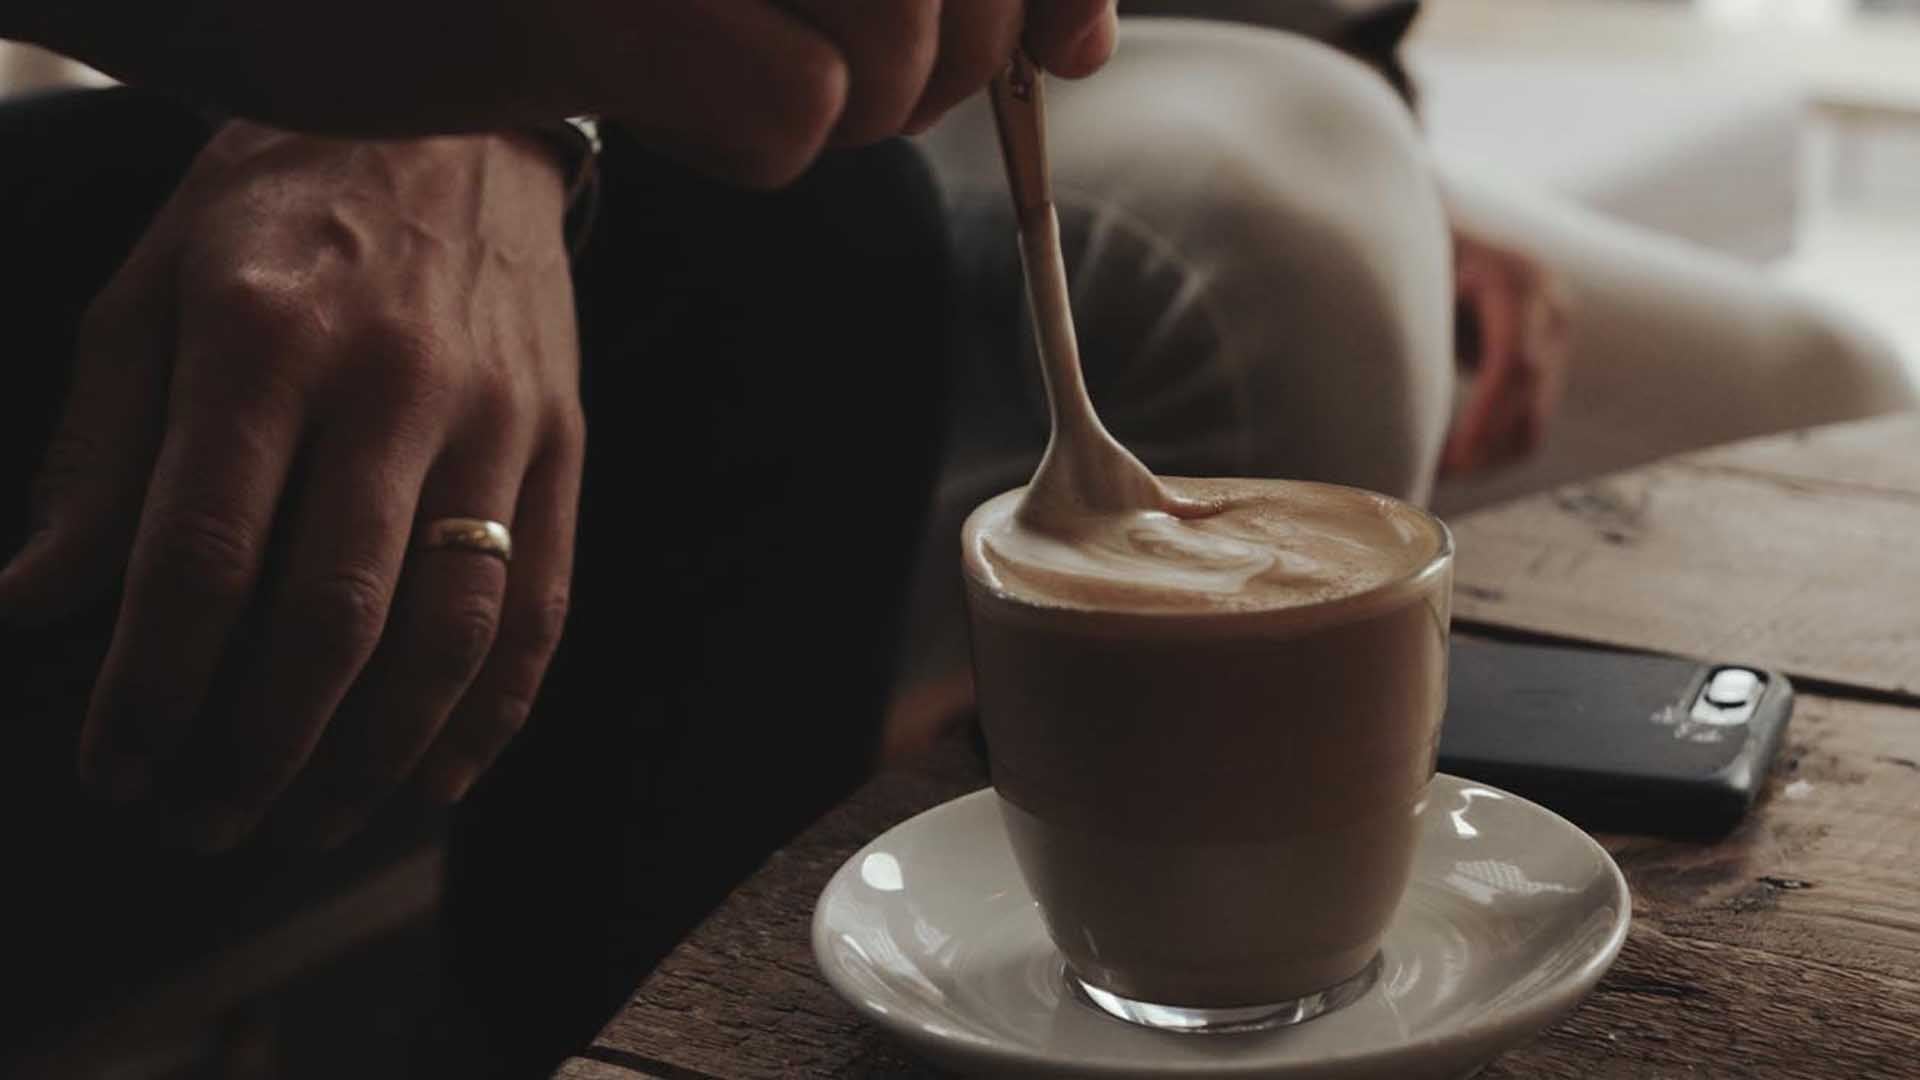
LUTs can generate beautiful sets of colors which can only be replicated if you have mastered your editing tools. If you like the LUT in specific ways you can keep it and work onwards with other color grading. LUTs can help guide you on a specific path of colors which you are looking to find. Using a LUT as a base is a commonly used method by professionals.
5. Using LUTs in masks
Masks can be super handy when editing. You can create unique looks by directing the viewers eyes to a specific part of the frame or to get a specific feel.
A really nice technique is by creating warm colors in the centre of your frame and cold colors on the outside, or visa versa depending on your scene.
For example, an interesting way of using masks is by creating a vignette. But not just the same old vignette, make one that doesn't just darken the edges of a frame, but it creates different colors.
Follow these steps
A way to do this is duplicate your footage and place one above the other.

Then open the mask tool and click on the circular option so you can create an oval or circle. If your program doesn't have this option then just draw a rough circle yourself. Draw the circle like the snapshot below so 4 points touch the edge of frame.

Now increase the feather of the mask until its a smooth gradient. Then click the inverted tab if you want the colors to be applied on the outside of the mask. In this example we will do this.

Once you have done that then the next step is to add your LUT. Depending on your software, find the effect to import your LUT. We are using Premiere Pro here so we will find the 'Lumetri Color' effect.
The main thing here is to experiment and find a LUT that could work for the outside of your footage. Or even increase or decrease the white balance to change the temperature of the colors. In this example we have used the Urban Dark LUTs. Bamboo LUT for the inside and the Dark LUT for the outside of the mask.
Then you're done! Just experiment with different colors here and find your preference for your shot. Our example here is just to give you a visual run through on how to do it.

Here you can learn how to place a LUT for:
Learn how to apply a LUT in Premiere Pro
in 10 Seconds
This method is similar in all other editing software. Very simple and straight forward way to import a LUT in Premiere Pro. This process is very similar in all major editing software. All you need to do is find the effect inside the software that will import the LUT.
Please ensure you have corrected the exposure and white balance on your footage to see optimal results using our LUTs.
play full video

Author
Will Sutton